
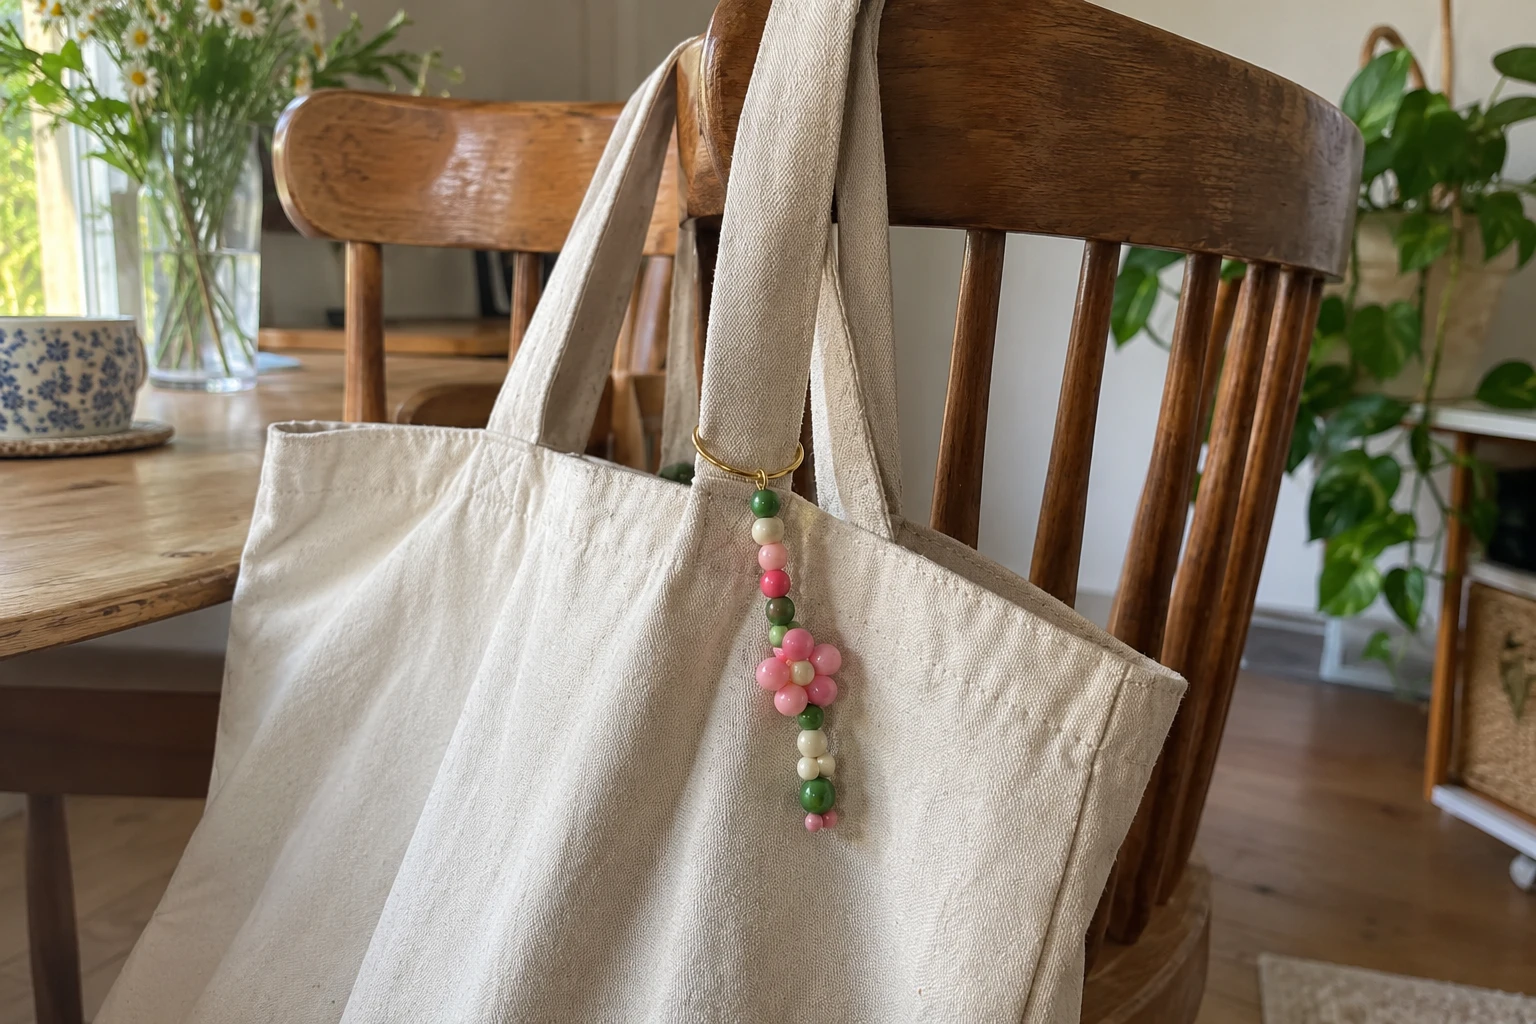
The bag charms all over Pinterest look complicated, but most of them are just beads on a cord with a good knot at the end. DIY beaded bag charms are easiest to finish when your first one is short, light and simple: a small strand with a repeating color pattern that adds personality to a plain tote. Make one, try it on your bag and adjust the length before making more.
Decide where it will hang first. A sturdy handle or a D-ring is usually better than a delicate zipper pull. Think about how the bag opens and whether a dangling strand might catch on clothing or furniture when you set the bag down.
This article contains affiliate links. As an Amazon Associate I earn from qualifying purchases.
Gather a small set of supplies
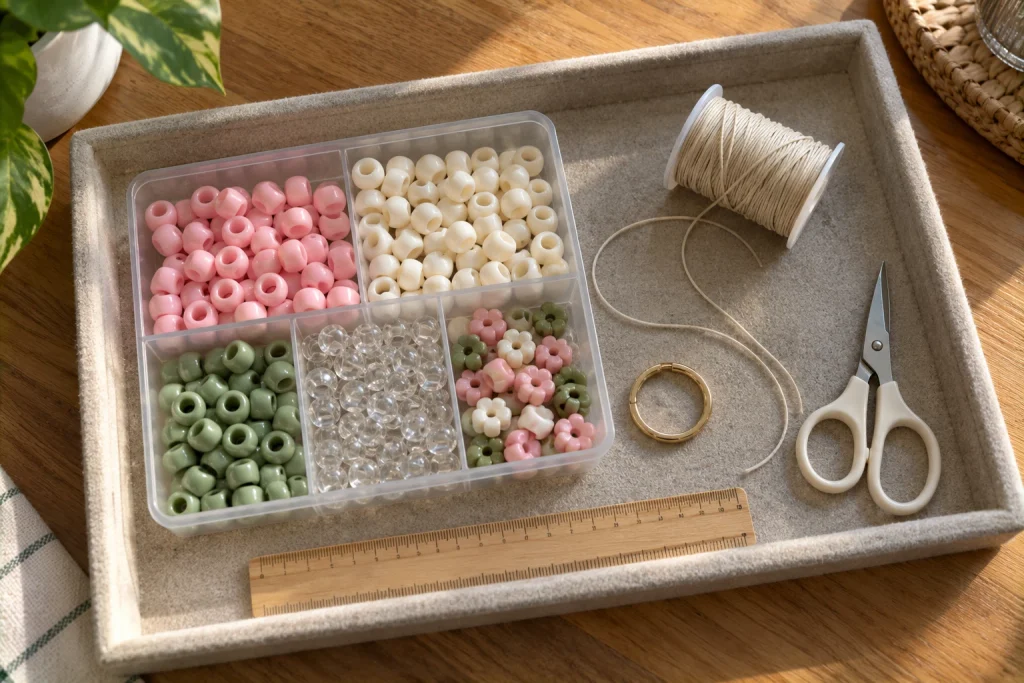
You need very little for a first charm:
| Supply | What to look for |
|---|---|
| Beads | Pony beads (often about 6 x 9 mm) with holes large enough for your cord, plus a few letter beads if you like |
| Cord | A thin non-stretch cord, such as 1 mm waxed cotton |
| Attachment | A split ring or lobster clasp if you want the charm to be removable |
| Tools | Small scissors, a ruler and a tray or folded towel so beads don’t roll away |
For a first charm I’d buy a mixed kit rather than separate bags of beads, so you can try a few palettes without overspending. The QUEFE pony bead and letter bead kit (paid link) is a colorful one to start with. Read the listing’s current contents before ordering, and don’t assume a bead kit includes every fitting you need for a bag charm.
Skip bracelet elastic for this project. It stretches under a dangling weight, so use a non-stretch cord instead. One option is PH PandaHall 1 mm waxed cotton cord (paid link). Its stated diameter helps you check bead fit, but always thread it through your smallest bead first. If you plan to use the cord doubled, both strands need to pass through every bead.
Keep loose beads, cord and metal rings away from young children and pets, since they’re a choking hazard. Work at a clear table and pick up dropped pieces before you pack up.
1. Pick a pattern you can repeat
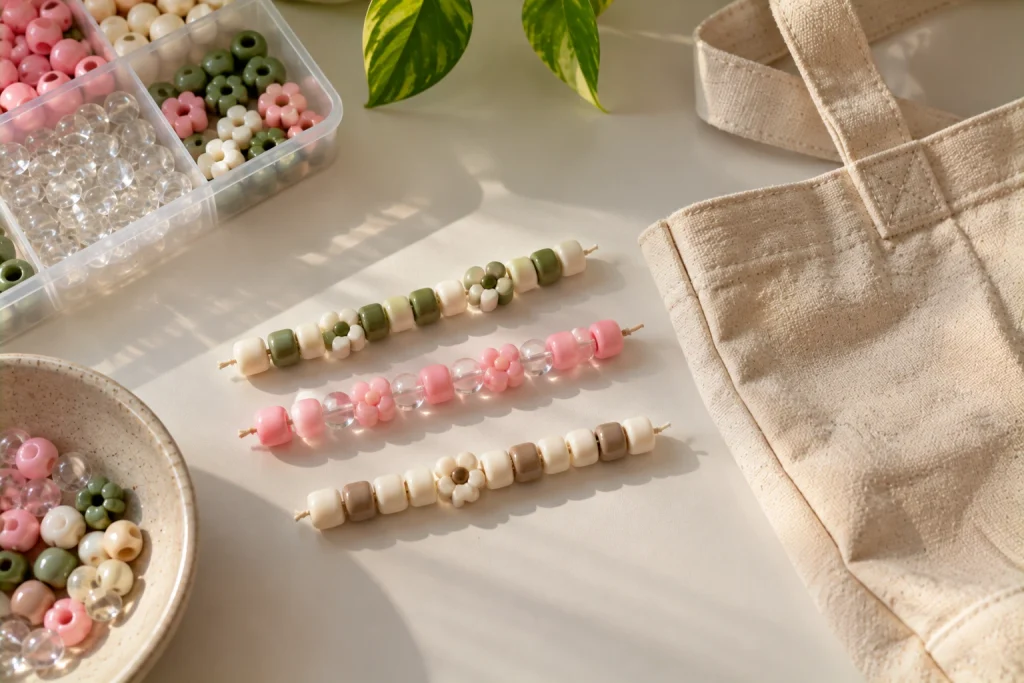
Choose two or three colors that go with your bag or the clothes you wear with it. A black tote can take a bright contrast; a patterned bag often looks better with a quieter charm that repeats one color from the print.
Lay the beads in a line before threading anything. Try a simple rhythm such as two cream, one green, two cream. Repetition makes a mixed bag of inexpensive beads look deliberate. For a first charm, 12 to 20 pony beads is plenty. Honestly, shorter almost always looks better than longer here.
If you add letter beads, check which way they read when the strand hangs down. A word that looks right on the table can end up reading bottom to top. Short initials are easier than long phrases. On a bag you carry in public, skip a child’s full name, school or other private details; a color combination or a fun word gives personality without that.
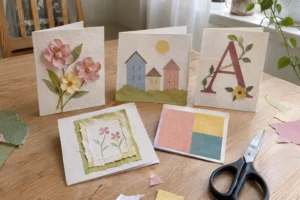
To try out a palette before threading, use spare paper in the same shades on a color-based junk journal page.
2. Set the length with the bag beside you
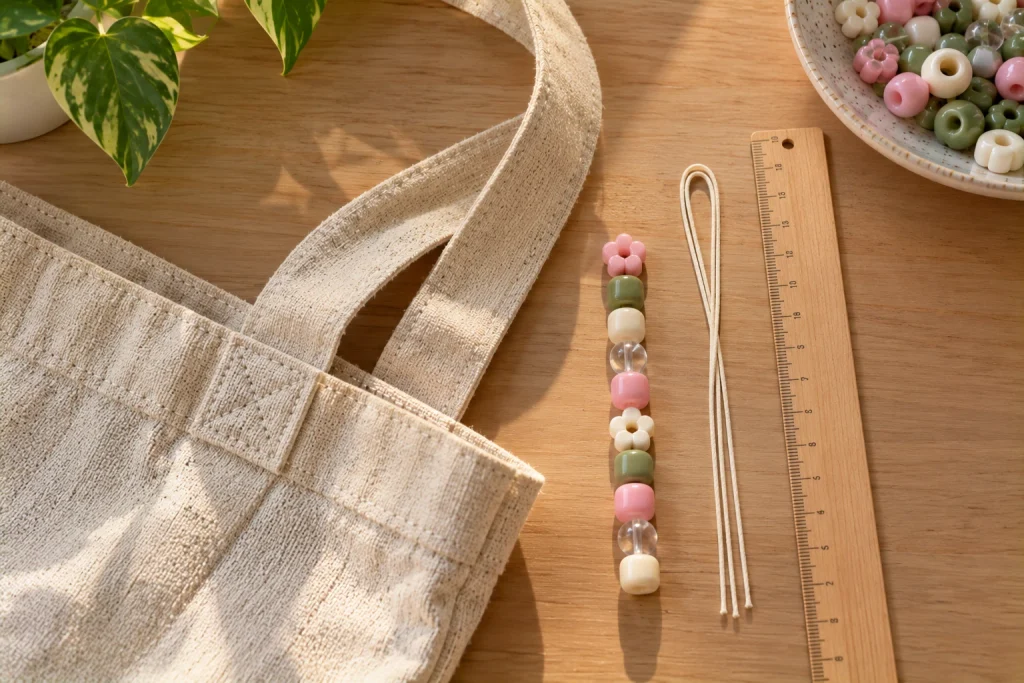
Hold the laid-out pattern against the bag to judge the finished drop, including the loop and knot. As a starting point:
- Small shoulder bag or crossbody: about 3 inches (7.5 cm).
- Everyday tote: about 4–5 inches (10–13 cm).
- Large tote or backpack: up to about 6 inches (15 cm), as long as it won’t hit your leg or the ground.
Cut the cord longer than you think you need. For a doubled cord attached with a lark’s head, cut about twice the finished drop plus 6 inches (15 cm) for tying. It’s easy to trim extra cord later and frustrating to tie a secure knot with short ends.
Attach it with a lark’s head
- Fold the cord in half.
- Pass the folded end through the split ring or bag hardware.
- Pull both loose ends through the folded loop and tighten gently.
This keeps both strands together for threading. Don’t cinch it tightly around delicate leather or thin hardware. If you’d rather not tie onto the bag at all, attach the cord to a split ring and clip the ring on where it opens without scratching the bag.
3. Thread slowly and check the hanging direction
Thread both strands through each bead in your planned order. If the doubled cord won’t fit through a bead, swap that bead, choose beads with larger holes or switch to a single strand with a different attachment knot.
Every few beads, let the charm hang and check that letters and shapes face the way you want. Fixing a reversed bead now is much easier than unthreading a finished strand. Don’t force cord through a tight hole with a sharp tool, since a frayed spot weakens the cord exactly where it needs to hold. Replace any cracked bead instead of hiding it in the design.
Leave a little slack between the last bead and the knot. A strand pulled very tight becomes stiff and puts extra strain on the attachment.
4. Secure the end and test before trimming
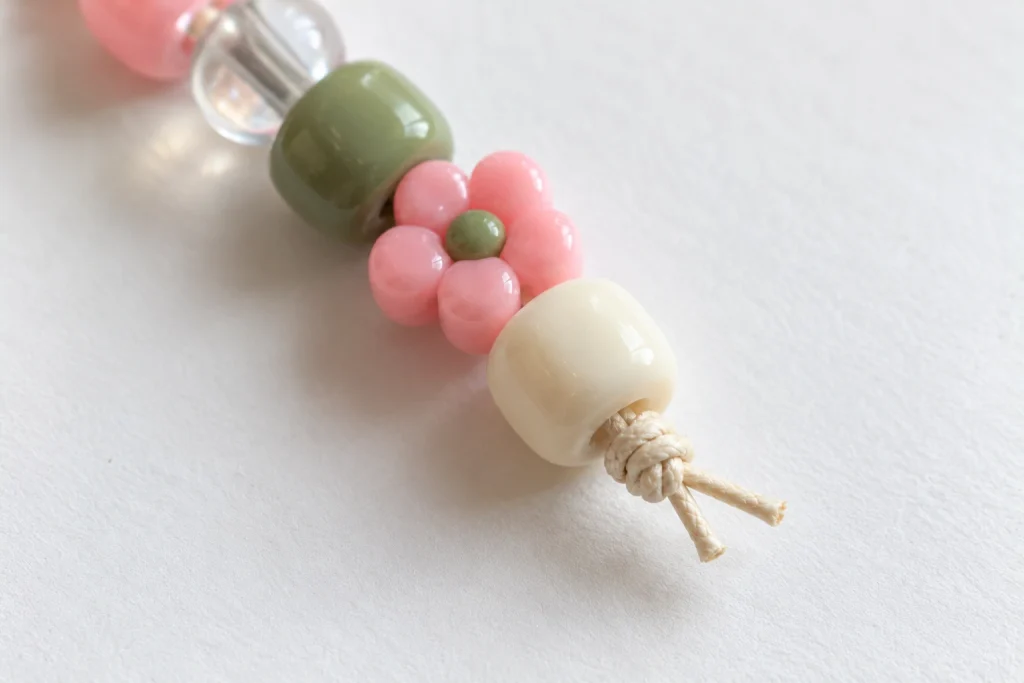
A double overhand stopper knot works well with doubled cord:
- Hold both strands together and make a loop near the end.
- Pass the ends through the loop twice instead of once.
- Pull slowly so the wraps tighten evenly, sliding the knot up against the last bead.
Practice once on a spare piece of cord first. Then test the knot: it must be bigger than the last bead’s hole and shouldn’t slip when you give the charm a gentle tug over your tray. If it slips, add a slightly larger end bead or tie a second knot. Leave tails of about 1/2 inch (1.2 cm) while testing, and only trim them once you’re happy.
If you add glue to a knot, use one made for the cord material and follow its curing time. Glue shouldn’t replace a sound knot. Clip the finished charm to the bag and go through normal use: opening, closing, carrying and setting it down. Check that it doesn’t catch on the zipper or drag on the ground. This charm is decorative and should never hold weight like a strap or handle.
5. Make three variations with the same method
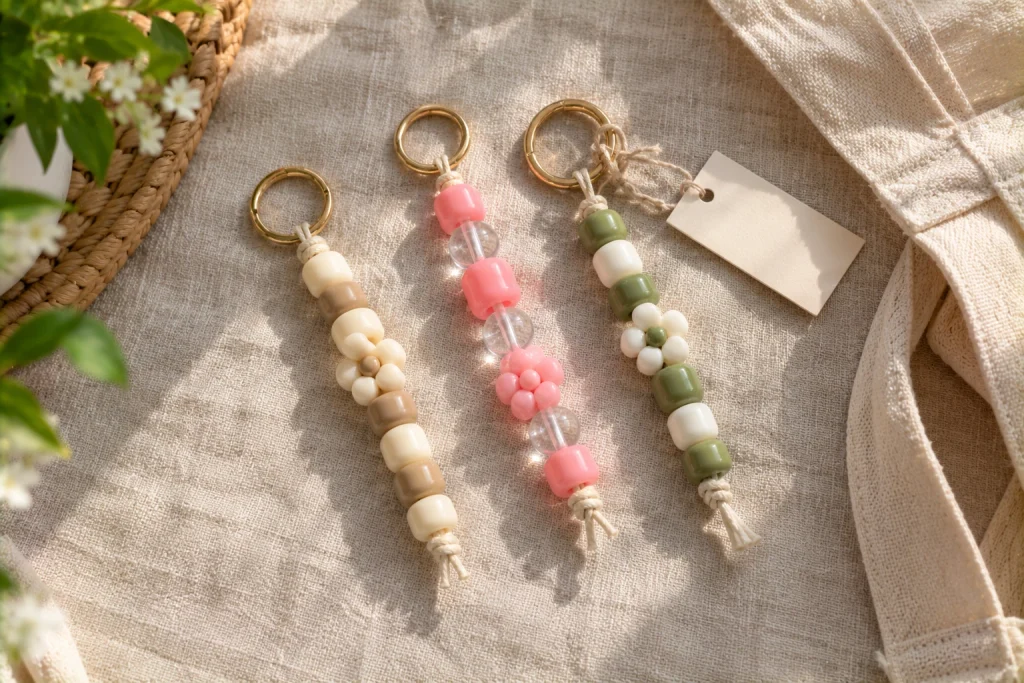
- Quiet everyday charm: one bead shape in two neutral colors, kept short with no letters. It suits a work tote.
- Playful charm: alternate a bright color with clear beads and add one short word as the focal point.
- Coordinated gift: pick colors from the recipient’s bag and add a small card explaining that the charm is decorative and how it attaches.
If this is your first one, I’d start with the quiet version. It’s the easiest to get right and the one you’ll probably wear most. Check the cord and ring now and then if the bag is used daily, and take the charm off before washing the bag. A good handmade bag charm is easy to enjoy, easy to remove and small enough to feel like part of the bag.
Give the finished bag a regular spot at home: these narrow entryway ideas include hook heights and spacing for everyday bags.