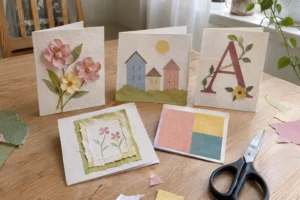

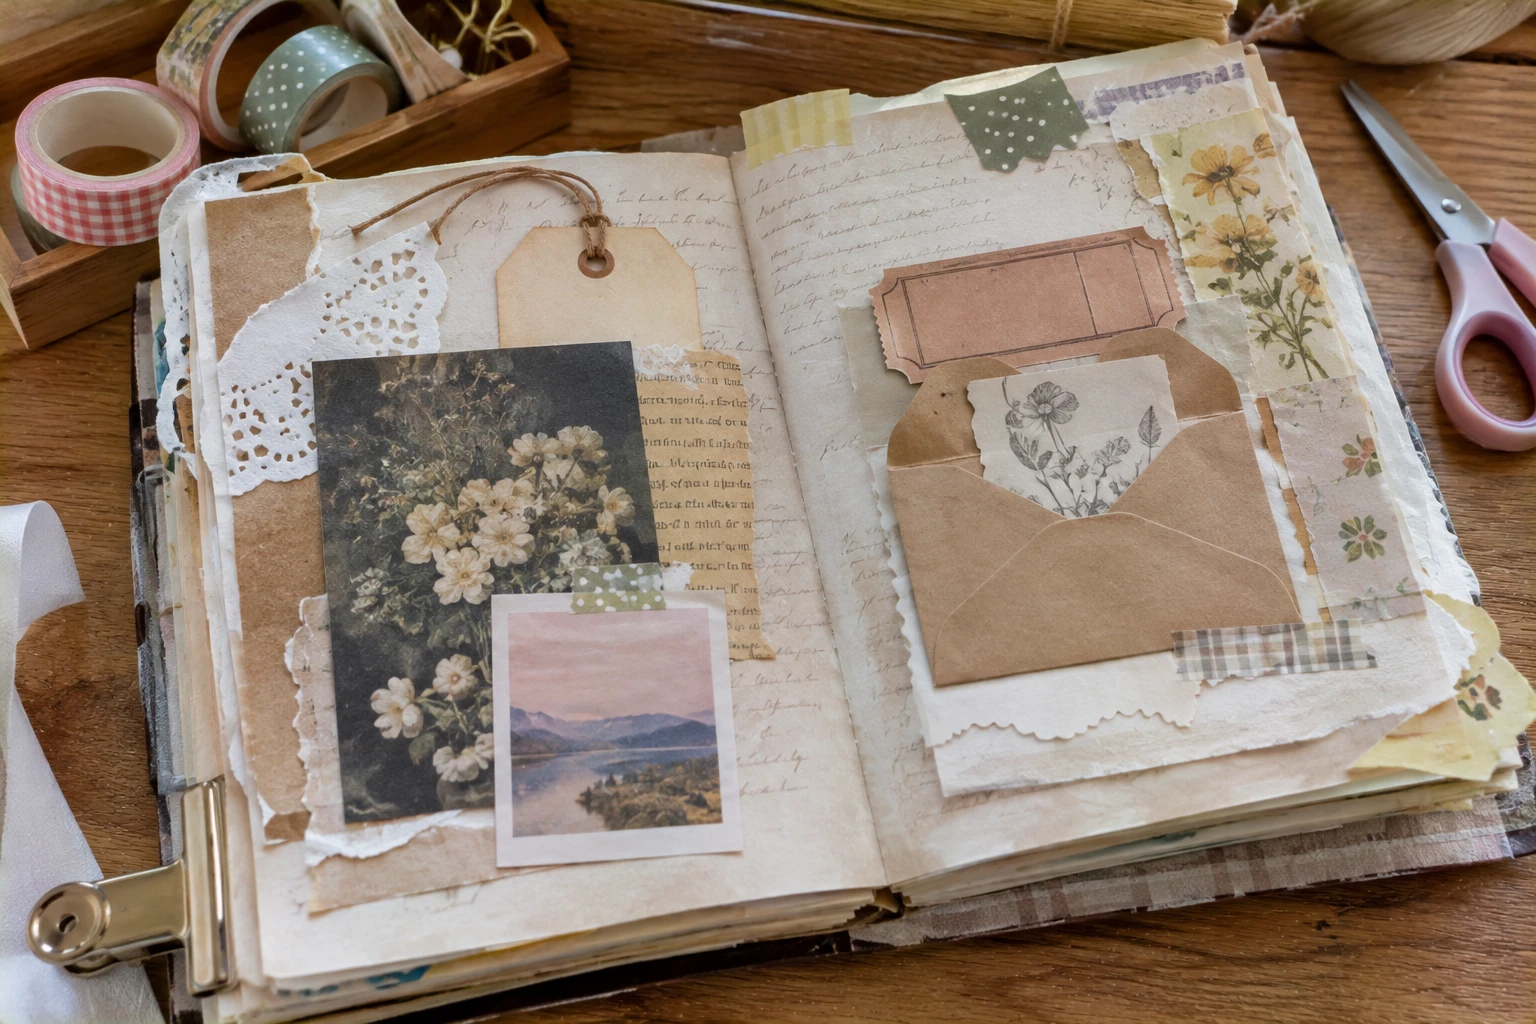
The overflowing junk journals on Pinterest can make a beginner feel they need a craft store’s worth of supplies. You don’t. These junk journal ideas for beginners start with paper you already have: a clean envelope, a ticket, a scrap of wrapping paper or a receipt from a nice afternoon. A junk journal just gives those everyday bits a place and a little context.
Pick one small theme for your first session. “A quiet Saturday” is much easier than “my whole life.” Gather only a few pieces and put the rest aside, so you finish a page instead of spending the evening sorting.
This article contains affiliate links. As an Amazon Associate I earn from qualifying purchases.
Build a simple starter kit
| Item | Why you need it |
|---|---|
| A notebook | Any notebook you already own works; a dotted one helps with lining things up |
| Adhesive | A tape runner or glue stick for paper-to-paper |
| Scissors | Small ones for trimming scraps |
| A pen | One that doesn’t bleed through your notebook’s pages |
| A scrap envelope | To collect paper bits between sessions |
Honestly, any notebook you already own is fine for your first few pages. If you need one, the PAPERAGE dotted journal (paid link) has faint dot guides for arranging scraps and notes. It’s a writing notebook, so keep bulky additions modest and test your glue on a back page. If you add one extra, make it washi tape. You can reposition it, which takes a lot of pressure off your first pages.
1. Make a page from one ordinary outing
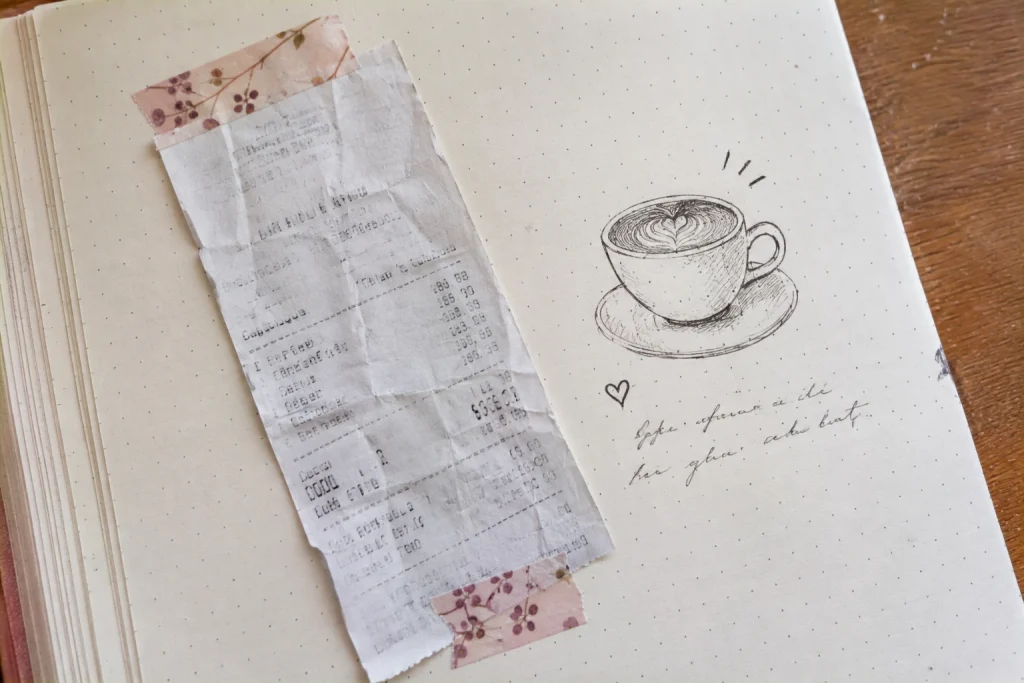
Choose an outing you can describe in a few sentences: a cafe stop, a library visit or a walk around your neighborhood. Use one main paper item and two small supporting details. A receipt, a quick sketch of your cup and the date are enough.
Place the largest piece first without gluing it. Decide where the writing will go, then move the smaller pieces around it. Leave some of the page empty, about a third is a good guide, so each scrap stands out instead of looking like a pile.
Most shop receipts are printed on thermal paper, which fades over time, and some contain BPA or BPS. Photocopy or photograph the receipt and glue the copy instead, and cover any payment or personal details.
Three prompts for when writing feels hard
- What happened? One plain sentence about the outing.
- What did I notice? A color, sound, bit of conversation or small object that stood out.
- Why keep this scrap? The connection a ticket can’t show on its own.
Write something the paper can’t say itself. Instead of copying the cafe’s name, note who you were with or why you stopped. Those details make the page personal. A get-together at home can be the next memory page; these home cafe gathering ideas make a cozy setting for one.
2. Build a color page from scraps
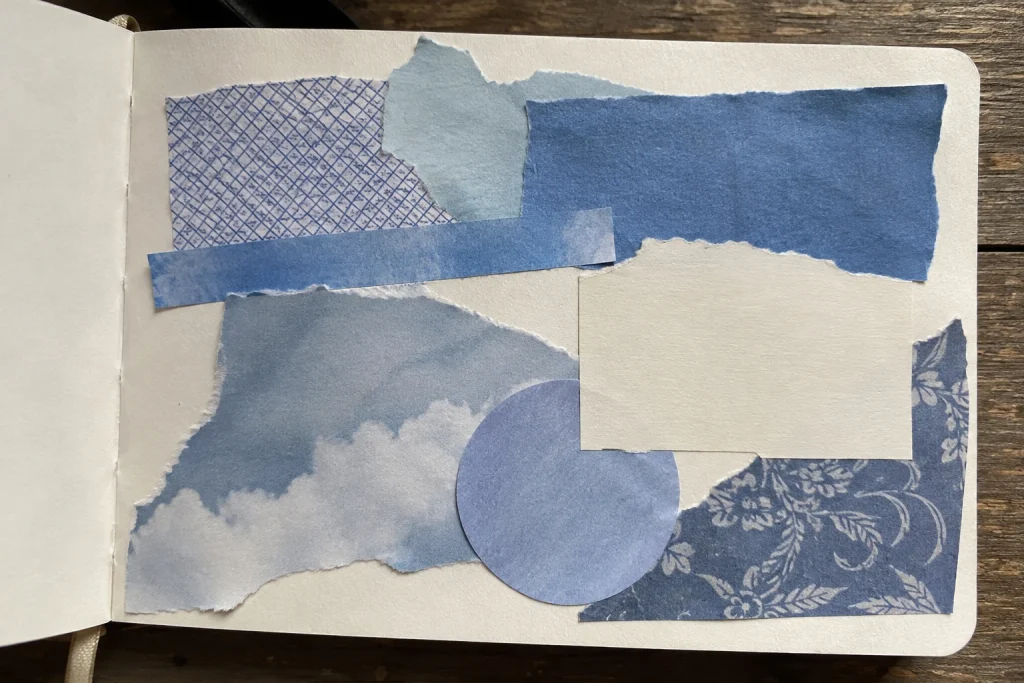
Pick a color you have in several paper pieces. Blue might come from an envelope lining, a magazine margin and a grocery label. The scraps don’t need to share a subject if the color ties them together.
Tear some edges and cut others to vary the shapes: try a large rectangle, a narrow strip and a small circle. Keep the pieces flat so the notebook still closes. Thick cardboard and fabric add bulk fast.
For paper-to-paper attachment, a tape-style adhesive is far less messy than liquid glue. The Tombow MONO permanent adhesive applicator (paid link) is a good example. Test it on your actual paper and keep permanent adhesive away from irreplaceable originals. A glue stick you already have may do the job.
Add a few words about why you chose the color: perhaps it reminds you of a room, a favorite sweater or the sky before rain. If you can’t find the right shade, make your own: these beginner watercolor exercises show how to paint a simple offcut. Let it dry fully before gluing it in.
3. Turn an envelope into a memory pocket
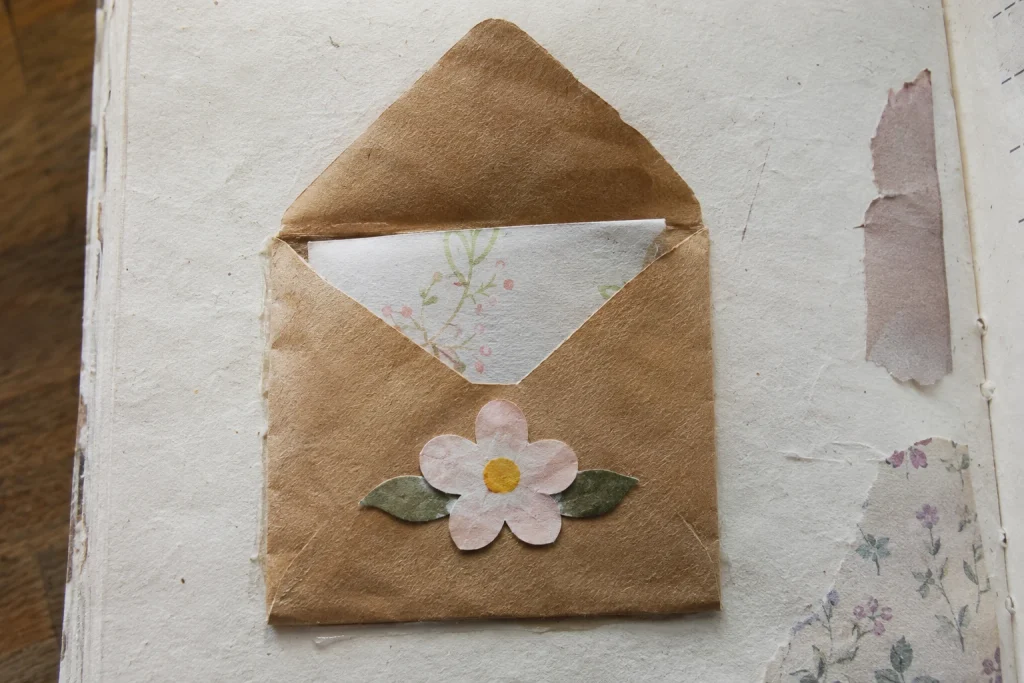
A small, clean envelope can hold a longer note you don’t want fully visible. Check that it fits the page with at least 1/2 inch (1.2 cm) to spare near the spine. Trim a spare envelope rather than an important original.
Position the opening so you can still slide the note in and out once it’s glued down. Put glue only on the back of the envelope, not near the opening, and test the movement before pressing it in place. It’s easy to glue the opening shut by mistake.
Keep the contents thin. One folded sheet or a tag is more practical than a stack of tickets; too much thickness near the spine makes the book hard to close. Use the front of the envelope as a title area with a date or short phrase and one small scrap hinting at what’s inside.
4. Make a page about something you noticed
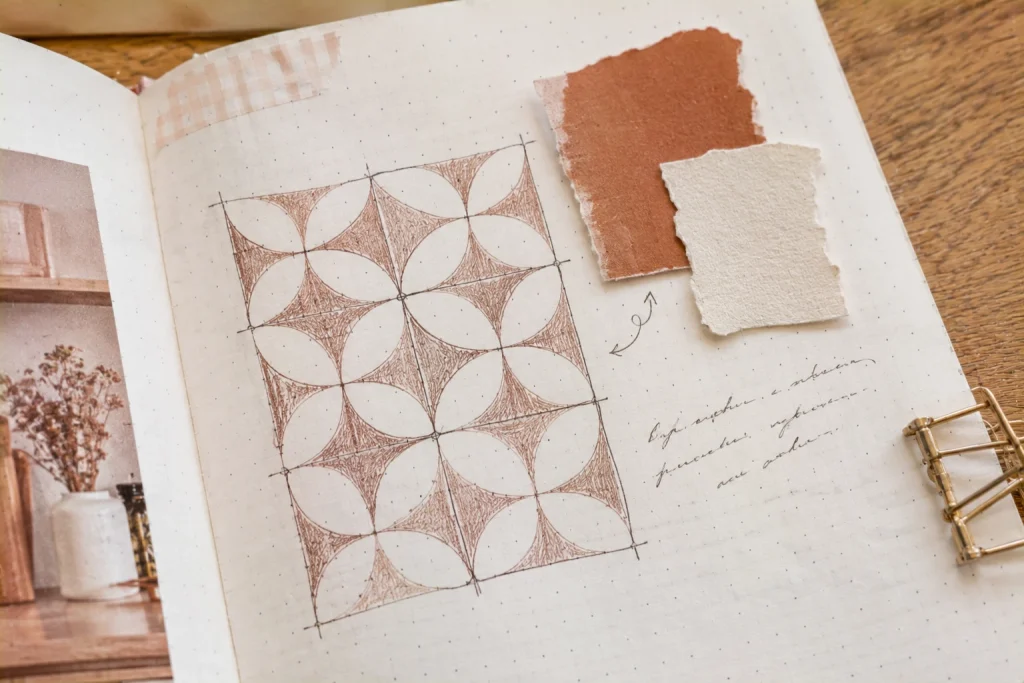
You don’t need an event worth photographing. A page can record the pattern on a tiled floor, the shape of a leaf or the colors in a shop window. Draw a quick sketch, write a sentence describing it and add paper scraps that echo its colors.
Don’t worry about drawing accurately. A rough sketch with a specific note often brings back the moment better than a polished sticker chosen because it matches. Use your own words rather than copying a long passage from a book or song; if a short quote matters to the page, write down where it came from. This approach is helpful when you want a creative habit without keeping a daily diary.
5. Create a “right now” page you can repeat
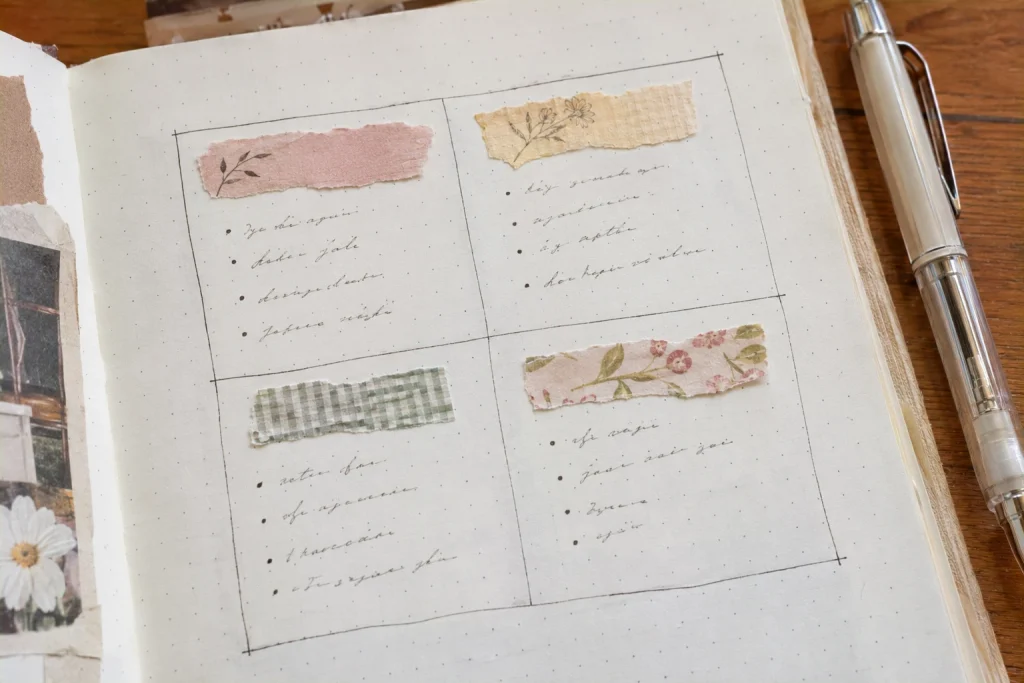
Divide a page into four boxes: what you’re reading, making, listening to and looking forward to. Skip any category that feels like homework. Use a small scrap as a heading background and write a sentence or two in each box.
This is my favorite page on the list because it gets better with time. Date it so you can compare it with a later one. The same layout gets more interesting over time because your answers change. Keep it honest and ordinary: a favorite snack or an unfinished project says more than a list of big goals. Mark your place between sessions with a flat pressed flower bookmark rather than thick decorations that stop the book from closing.
Keep the hobby small enough to continue
Store the notebook, adhesive, scissors and one envelope of scraps together in a box or bag. When the envelope is full, use some scraps before collecting more. That limit keeps a simple hobby from turning into a storage problem.
- Avoid food wrappers with residue, fresh leaves or anything damp that can stain, smell or attract pests. Photograph or draw them instead.
- Let glued pages dry, then close the book under a heavy book for an hour to keep pages flat.
- Expect the journal to get thicker; that’s part of the charm, but stop adding to a spread once it won’t close.
For your next session, choose just one of these pages and give it a clear finish line: one memory, one color or one pocket. Finishing a small page teaches you more about what you enjoy than planning a perfect journal you’re nervous to start.