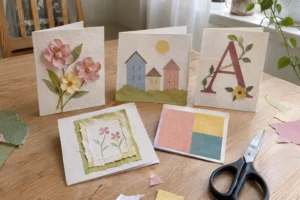

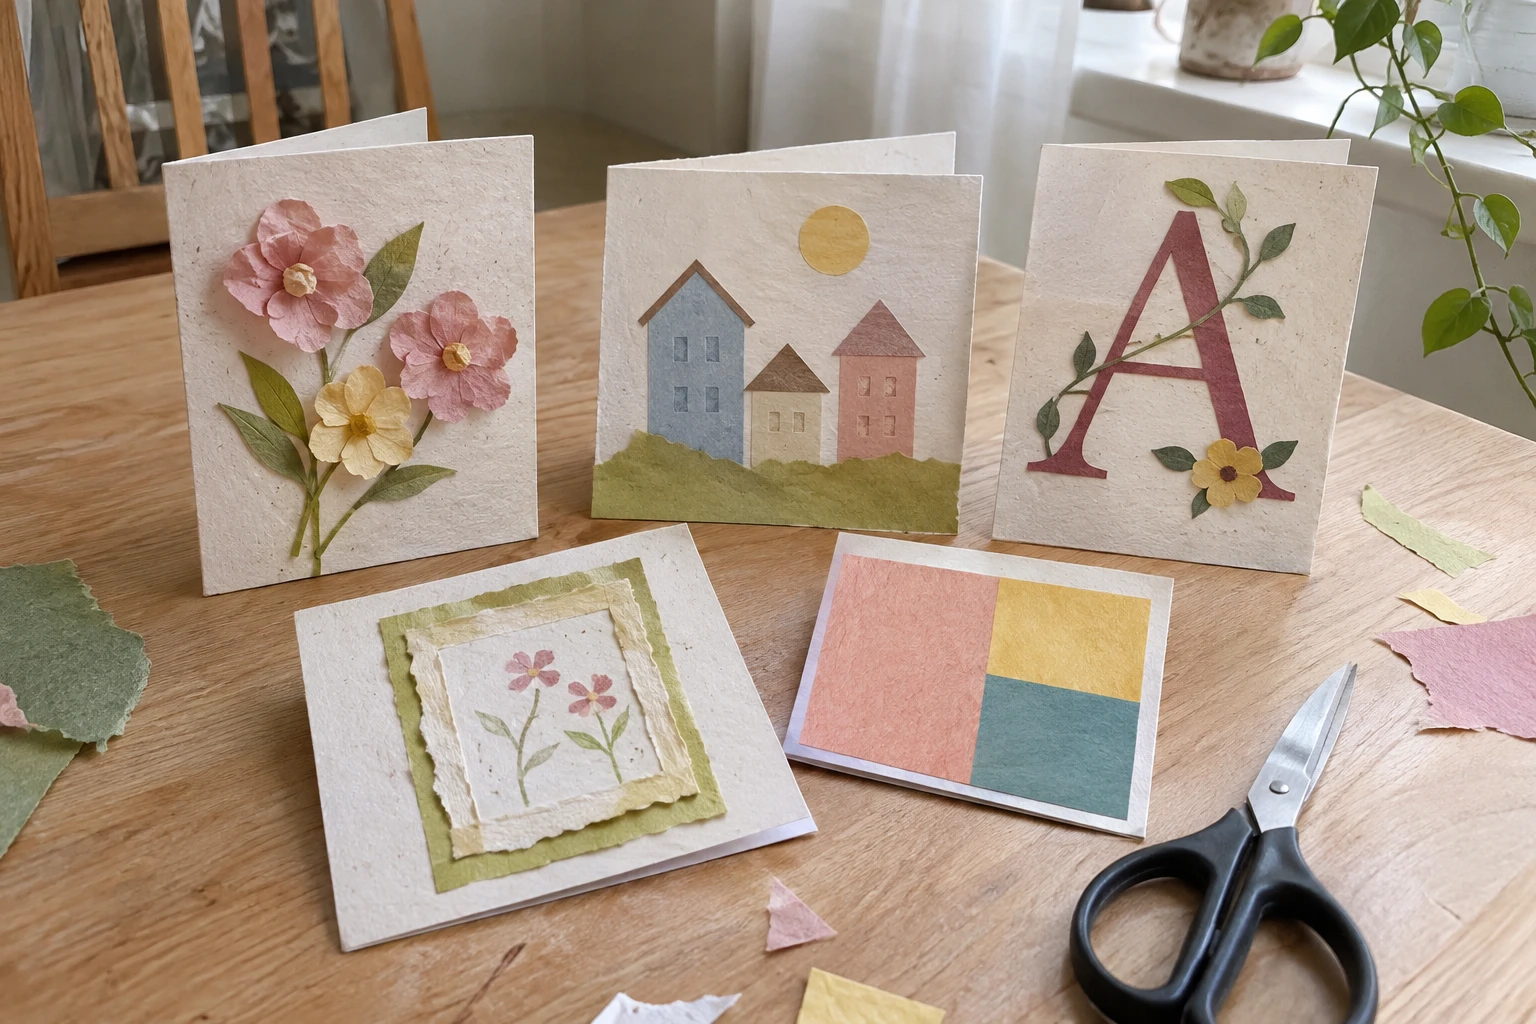
A handmade card doesn’t need to be fancy to mean more than a store-bought one. These handmade greeting card ideas use a few paper scraps, one simple shape and a short message, with no cutting machine or stamp collection required. All five use flat layers, so they’re easy to write in and fit a standard envelope.
This article contains affiliate links. As an Amazon Associate I earn from qualifying purchases.
Choose the card size and paper first
My first tip is the least exciting one: pick the envelope before making the card, so the finished card actually fits. These are common US sizes:
| Card size (folded) | Envelope | Cut a flat sheet to |
|---|---|---|
| 4.25 x 5.5 in (A2) | 4.375 x 5.75 in | 8.5 x 5.5 in, half a letter-size sheet |
| 4.5 x 6.25 in (A6) | 4.75 x 6.5 in | 9 x 6.25 in |
| 5 x 7 in (A7) | 5.25 x 7.25 in | 10 x 7 in |
For the base, use cardstock heavy enough to stand up, around 80 lb cover (about 216 gsm) or heavier. Thin paper works for decorations but flops as a card base. If you’d rather skip cutting and folding, ready-made blanks save a lot of time, and mixed-media paper also handles watercolor or markers. Strathmore blank mixed-media cards (paid link) come ready to use with envelopes. Confirm the pack size and dimensions before planning your design.
Score the fold for a clean edge
Mark the center line, lay a ruler along it and run a bone folder, an empty ballpoint pen or the back of a butter knife along the line with firm pressure. Then fold along the scored line and smooth it with the side of the folder. Scoring stops the paper from cracking and keeps the fold straight. Practice on a scrap first.
1. Make a small paper-flower arrangement
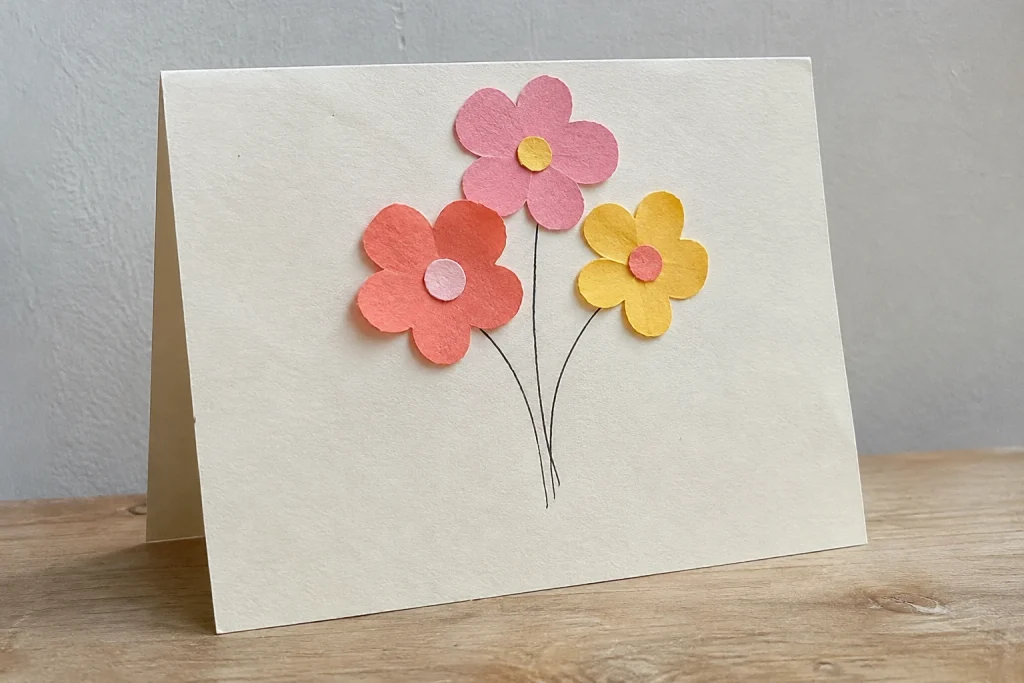
Cut three simple flower shapes from colored paper, each about 1 to 1.5 inches (2.5–4 cm) across. A rounded five-petal shape is enough, and the petals don’t need to match. Add a small circle of paper to each center, then draw stems with a fine pen.
Arrange the flowers before gluing anything, slightly off center, with blank space left for a short phrase like “for you.” If the front looks crowded, remove a leaf or make one flower smaller instead of filling every gap. A real pressed flower works beautifully here too; these pressed flower bookmarks explain how to press and protect them flat.
2. Turn scraps into a row of little houses

Cut three rectangles of different heights, about 1 to 2 inches (2.5–5 cm) tall, and add a triangle roof to each. Draw doors and windows with a pen. This design suits a new-home card, a thank-you to a neighbor or a note to someone who makes you feel at home.
Draw a light pencil baseline to line the houses up, then erase it once the glue and ink are dry. Vary one detail, such as roof color, and keep the rest plain; too many patterns make tiny windows hard to see.
For paper-to-paper, I’d choose a tape runner over liquid glue every time because it doesn’t wrinkle thin paper. A Tombow MONO permanent tape runner (paid link) is a tidy option. Apply it to the back of each shape, just inside the edges, and position carefully because it grabs right away. A glue stick also works; use a thin, even layer so thin paper doesn’t wrinkle.
3. Create a single large initial
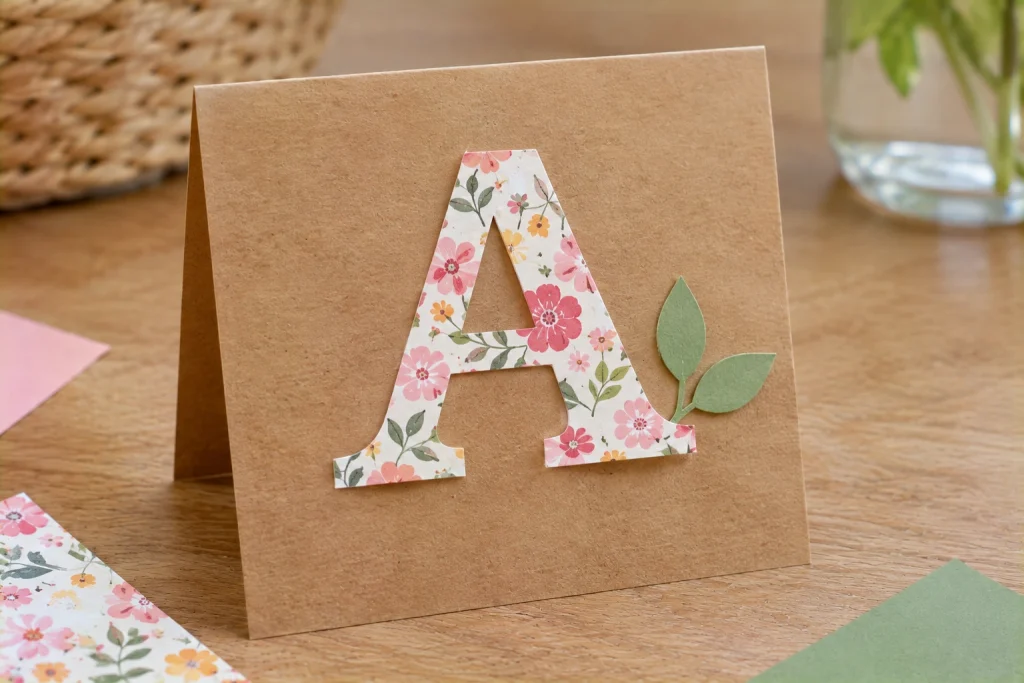
Draw the recipient’s first initial lightly on the back of a patterned scrap, about 2.5 inches (6 cm) tall, and cut it out. A thick block letter is much easier to cut than a thin script. Remember to draw it backward on the back of the paper so it reads correctly on the front.
Place the letter slightly above the center of the card and add one small detail, such as a dot, a tiny leaf or a short underline. Let the letter carry the design. If a letter with enclosed spaces, like A or B, is hard to cut, build it from paper strips instead.
4. Make a color-block thank-you card
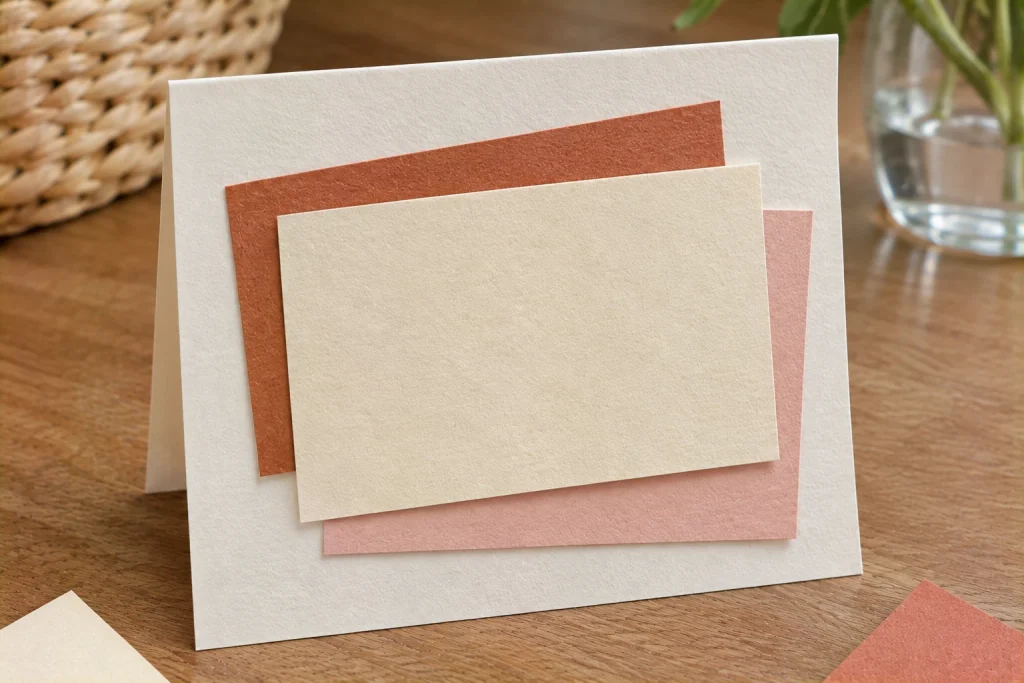
Cut three rectangles in related colors, such as cream, muted terracotta and soft pink, or navy, pale blue and white. Overlap them in a loose stack with part of each color showing.
Write “thank you” on the top piece before gluing it down. If the lettering goes wrong, you only need to redo that one small rectangle. Use the inside to name exactly what the person did. Honestly, that sentence matters more than anything on the front.
5. Frame a tiny drawing
Draw a small object connected to the recipient, such as a mug, a book, a flower or their favorite fruit, inside a rectangle about 2 x 2.5 inches (5 x 6 cm). A simple outline you drew while looking at the real object often feels more personal than a copied illustration.
Mount the drawing on a slightly larger piece of colored paper to make a frame, keeping the border even. Glue it to the card front and add a short message below. If drawing isn’t for you, print a small photo you took and frame it the same way.
Match a design to the occasion
| Occasion | Design that suits it |
|---|---|
| Birthday | Paper flowers or a large initial |
| Thank-you | Color blocks with a handwritten “thank you” |
| New home | A row of little houses |
| Just because | A tiny drawing of something you both like |
| Sympathy | A single pressed or paper flower in soft colors, with plenty of blank space |
Glue, dry and mail it properly
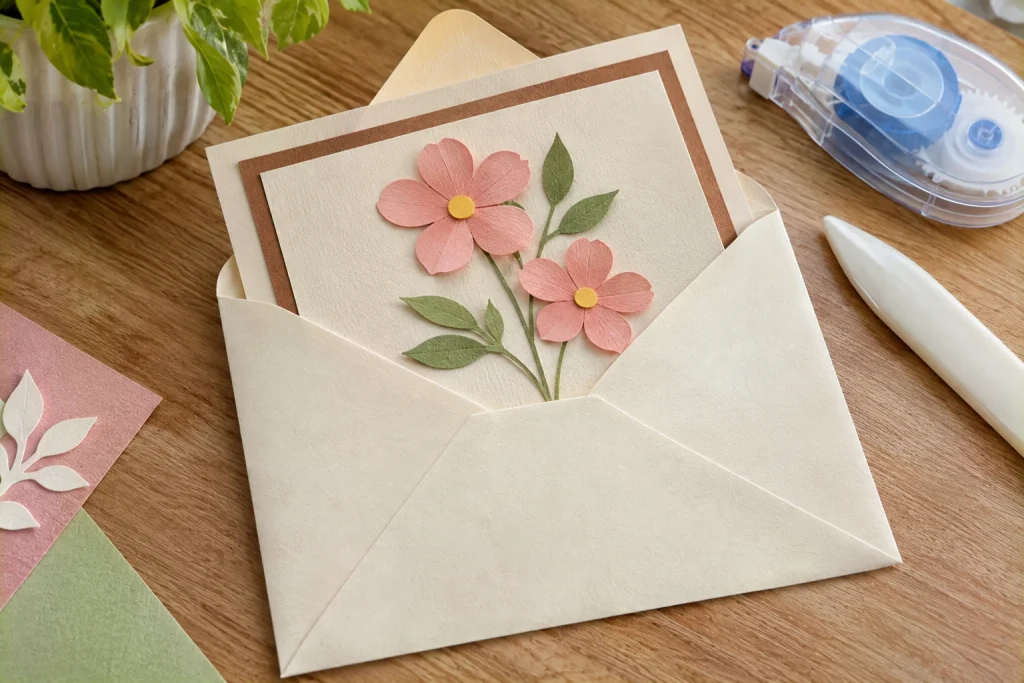
Keep glue away from the fold and the outer edges. Press layers flat under a clean sheet of paper and let glue and ink dry fully before putting the card in its envelope; coated or glossy paper can take longer.
Check mailing rules before you send it. In the US, a standard letter must be no more than 1/4 inch (6 mm) thick to go at the regular stamp price, and square, rigid or lumpy envelopes can need extra postage. Flat paper layers usually keep a card within the standard size, while buttons, thick embellishments or a square envelope may not. When in doubt, look up the current USPS rules.
Write the message before you decorate
If you take only one idea from this post, take this one: draft the inside message on scrap paper first. For a thank-you, name what the person did and what it meant. For a birthday, mention a shared memory or something you’re looking forward to together. Check the spelling of the recipient’s name before writing on the finished card. If you’re worried about spacing, write on a separate paper insert and glue it in once the ink is dry.
Save useful offcuts in an envelope for next time. If you enjoy working with leftover paper, these junk journal ideas use scraps in a different way.