
Ignore the “albums every collector needs” lists for now. The easiest way to learn how to start a vinyl collection is to begin with music you already love and want to hear all the way through. Ten records you play often beat a hundred bought to fill a shelf, and they’re much kinder to your budget.
Set a budget that covers storage and basic care, not just albums. If you still need a turntable and speakers, plan that first, so you don’t buy records you can’t play yet. Then buy one album you love, play it and listen before ordering more.
This article contains affiliate links. As an Amazon Associate I earn from qualifying purchases.
Know the basic record formats
| Format | Size | Speed | Notes |
|---|---|---|---|
| LP (album) | 12 inch | 33⅓ RPM | The most common format; some special editions play at 45 |
| Single / EP | 7 inch | 45 RPM | Often has a large center hole that needs an adapter |
| 12-inch single | 12 inch | 45 or 33⅓ RPM | Check the label for the speed |
| 78 | 10 or 12 inch | 78 RPM | Older shellac records that need a different stylus |
Most turntables play 33⅓ and 45; check yours before buying anything else.
1. Start with a short listening list
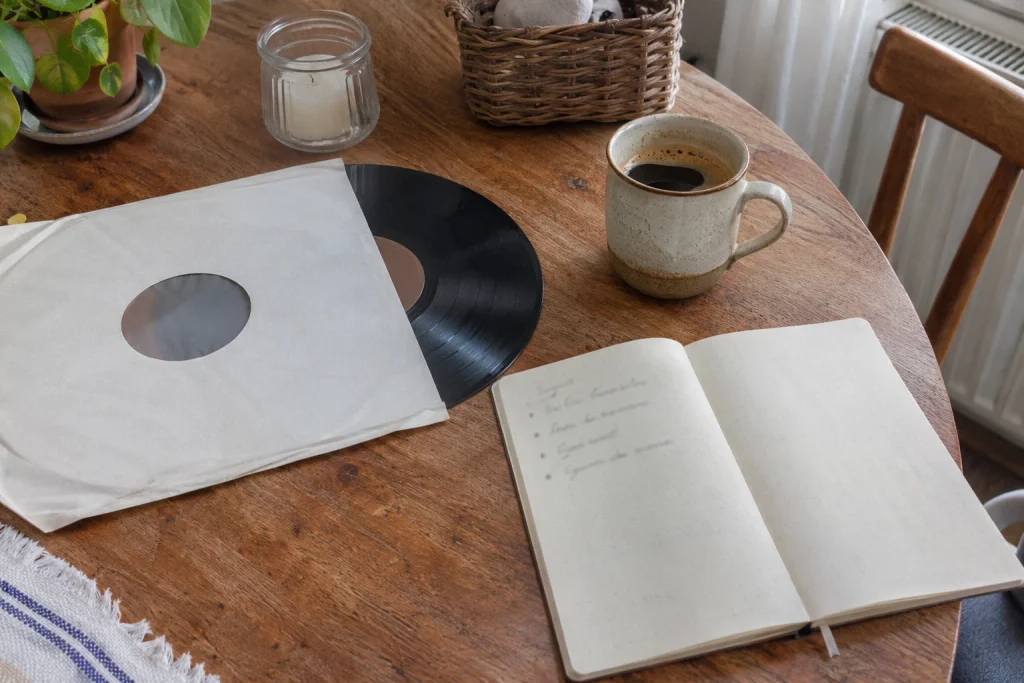
Write down five to ten albums you enjoy from start to finish. Vinyl is played one side at a time, so an album you love as a whole is usually a more satisfying first buy than one you know for a single song.
Mix moods if that matches how you listen: one record for a quiet evening, one for cooking, one you’d play for friends. Don’t buy a record only because it seems collectible; resale value is uncertain, and a record you want to play gives the purchase a clear purpose. Keep the list on your phone when browsing, so you don’t spend your budget on cheap records you don’t love.
Pick your listening seat before buying any furniture. One end of the sofa or a favorite chair is enough; these reading nook ideas using an existing seat work just as well for listening. Keep drinks on a different surface from the turntable.
2. Decide when new or used makes sense
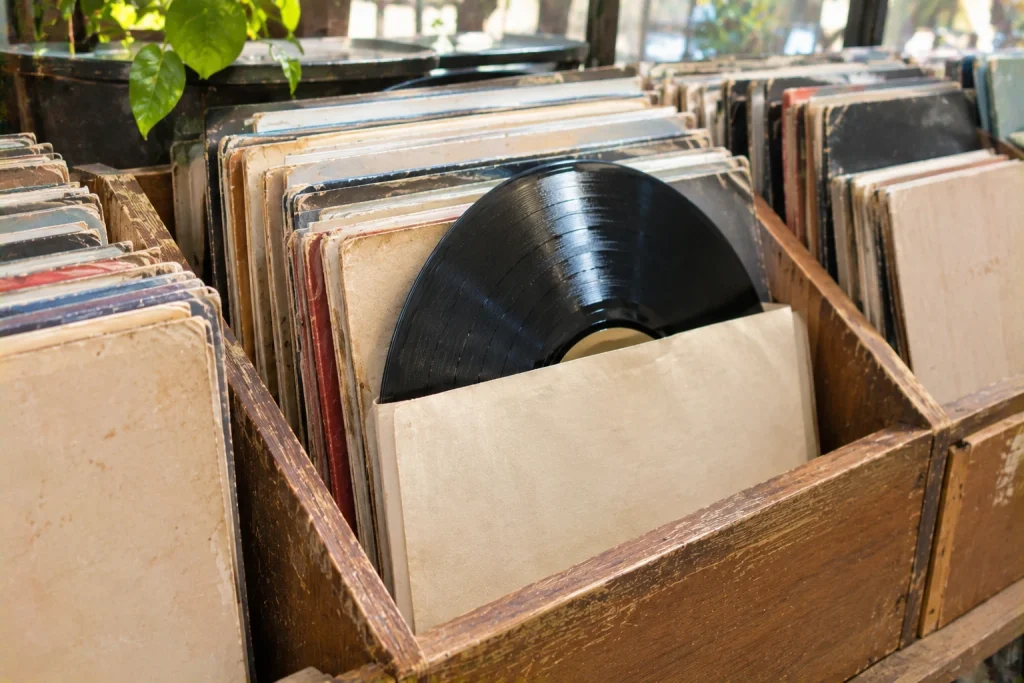
New records are a straightforward way to get current releases and reissues, and they’re sealed, so condition is rarely an issue. Used records can be cheaper and offer older titles, but condition varies a lot. Neither is automatically better. My suggestion for beginners: buy your first few new or from a shop with a return policy, then try used once you know what to look for.
When buying used in person, slide the record out of its sleeve under good light and check:
- Warping: look along the edge at eye level; it should be flat.
- Scratches: light scuffs are common; scratches you can feel with a fingernail usually mean clicks or skips.
- Dirt or residue: dust brushes off, but sticky spots or mold need proper cleaning.
- The sleeve: a clean jacket doesn’t prove the record plays well, so check both.
Ask whether the shop has a return or listening policy, especially for pricier records.
Read the condition grade before the price
Online sellers use standard grades. According to the Discogs grading guide, which follows the Goldmine standard:
- Near Mint (NM or M-): almost no signs of use.
- Very Good Plus (VG+): light wear that shouldn’t really affect listening. A common sweet spot for value.
- Very Good (VG): noticeable surface noise and wear.
- Good / Good Plus (G/G+): considerable noise and scratches; “good” doesn’t mean nearly new.
The record and jacket are graded separately, so read both, and ask whether the grade came from listening or just looking. Compare the total price including shipping, not just the record price.
3. Check the listing details before you pay
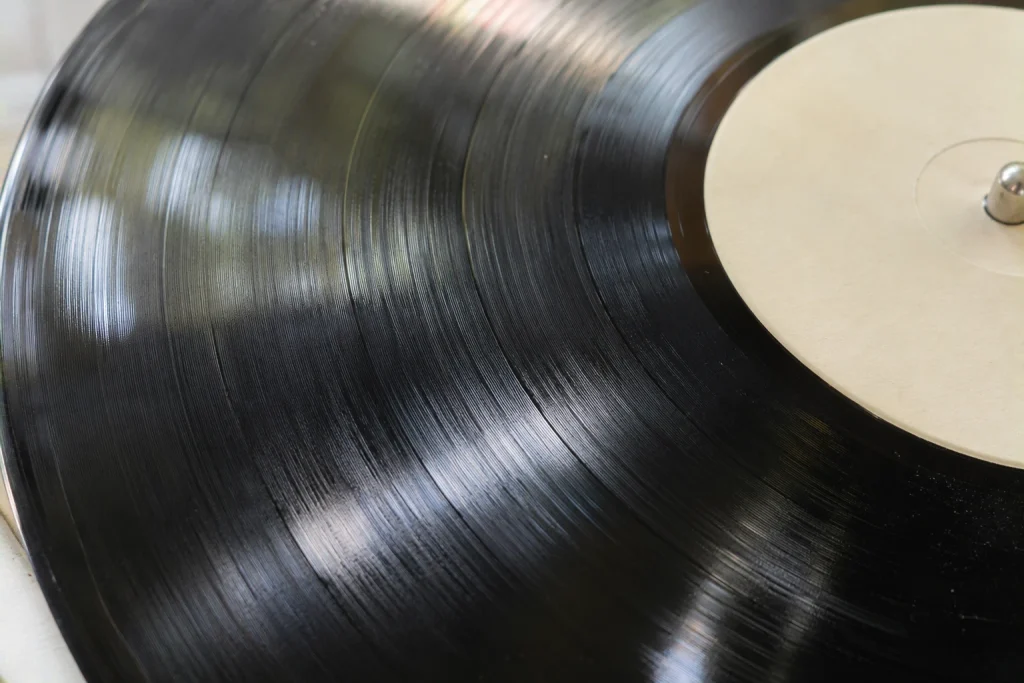
Listings can mention size, speed, pressing year, country and catalog number. Those details identify the edition, but they don’t tell you which copy you’ll enjoy most. Before paying, confirm:
- Music: artist, title, track list and number of discs.
- Format: vinyl rather than CD or cassette, the size and the speed.
- Edition: the catalog number matches the copy for sale; ask for photos if the exact pressing matters.
- Condition: both the disc and jacket grades and any damage notes.
- Terms: the total cost and what happens if it arrives damaged or not as described.
A 78 RPM setting on a turntable doesn’t mean it can safely play 78s. Older shellac records need a different stylus, and Audio-Technica’s AT-LP120-USB manual, for example, warns that its standard LP stylus is unsuitable for 78 RPM records. Heavy 180-gram vinyl, colored pressings and limited editions can be appealing, but they don’t guarantee better sound; the recording, mastering, pressing and condition matter more.
4. Protect the disc and the sleeve separately
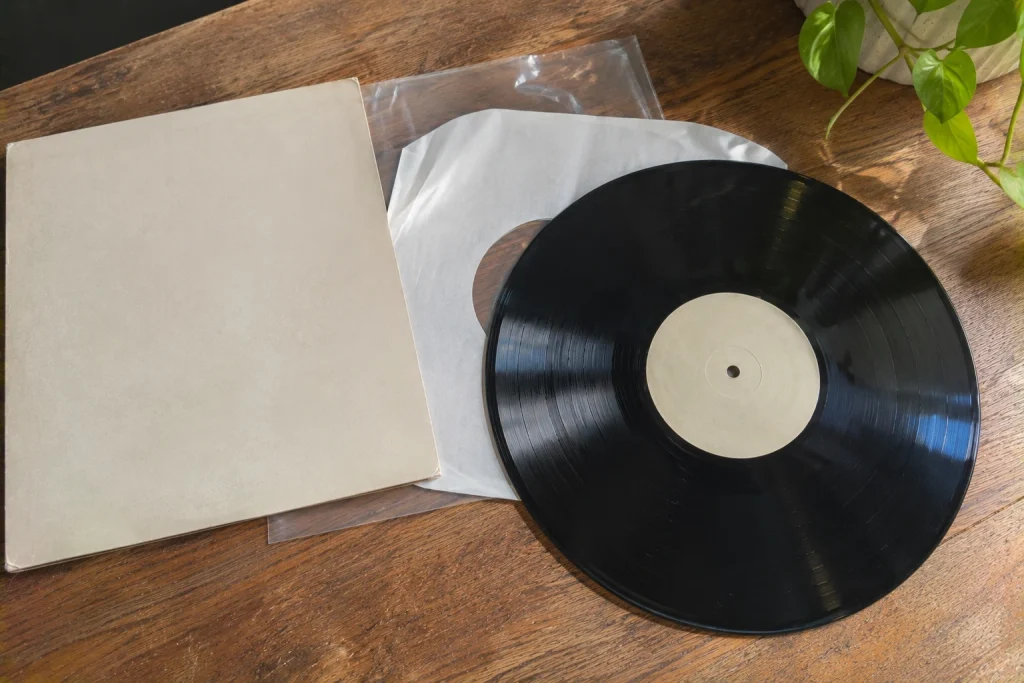
An inner sleeve holds the record itself; an outer sleeve protects the album jacket. They solve different problems. Paper inner sleeves can shed fibers and scuff records over time, so many collectors replace them with anti-static inner sleeves. It’s one of the cheapest upgrades I’d recommend. Hudson Hi-Fi inner record sleeves (paid link) are one option for LPs; check the size and quantity, and note that they don’t replace an outer sleeve for the jacket.
Keep original inner sleeves and inserts with the album, since they’re often printed with lyrics or credits. Handle records by the edges and label only, with clean, dry hands, and keep food and drinks away from records and the turntable.
5. Store records upright with room to browse
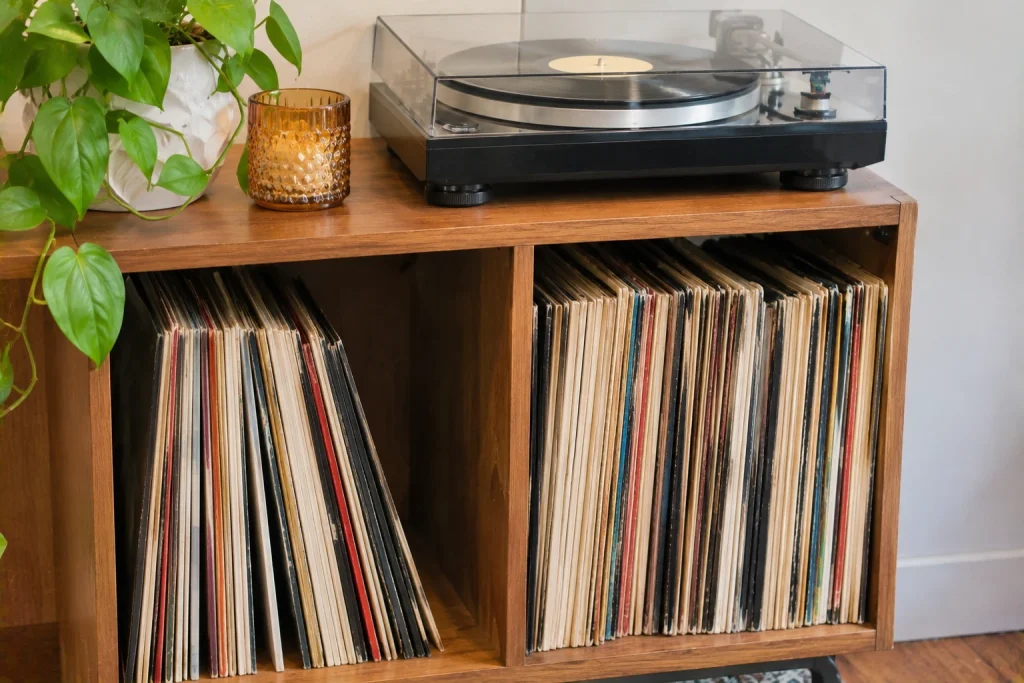
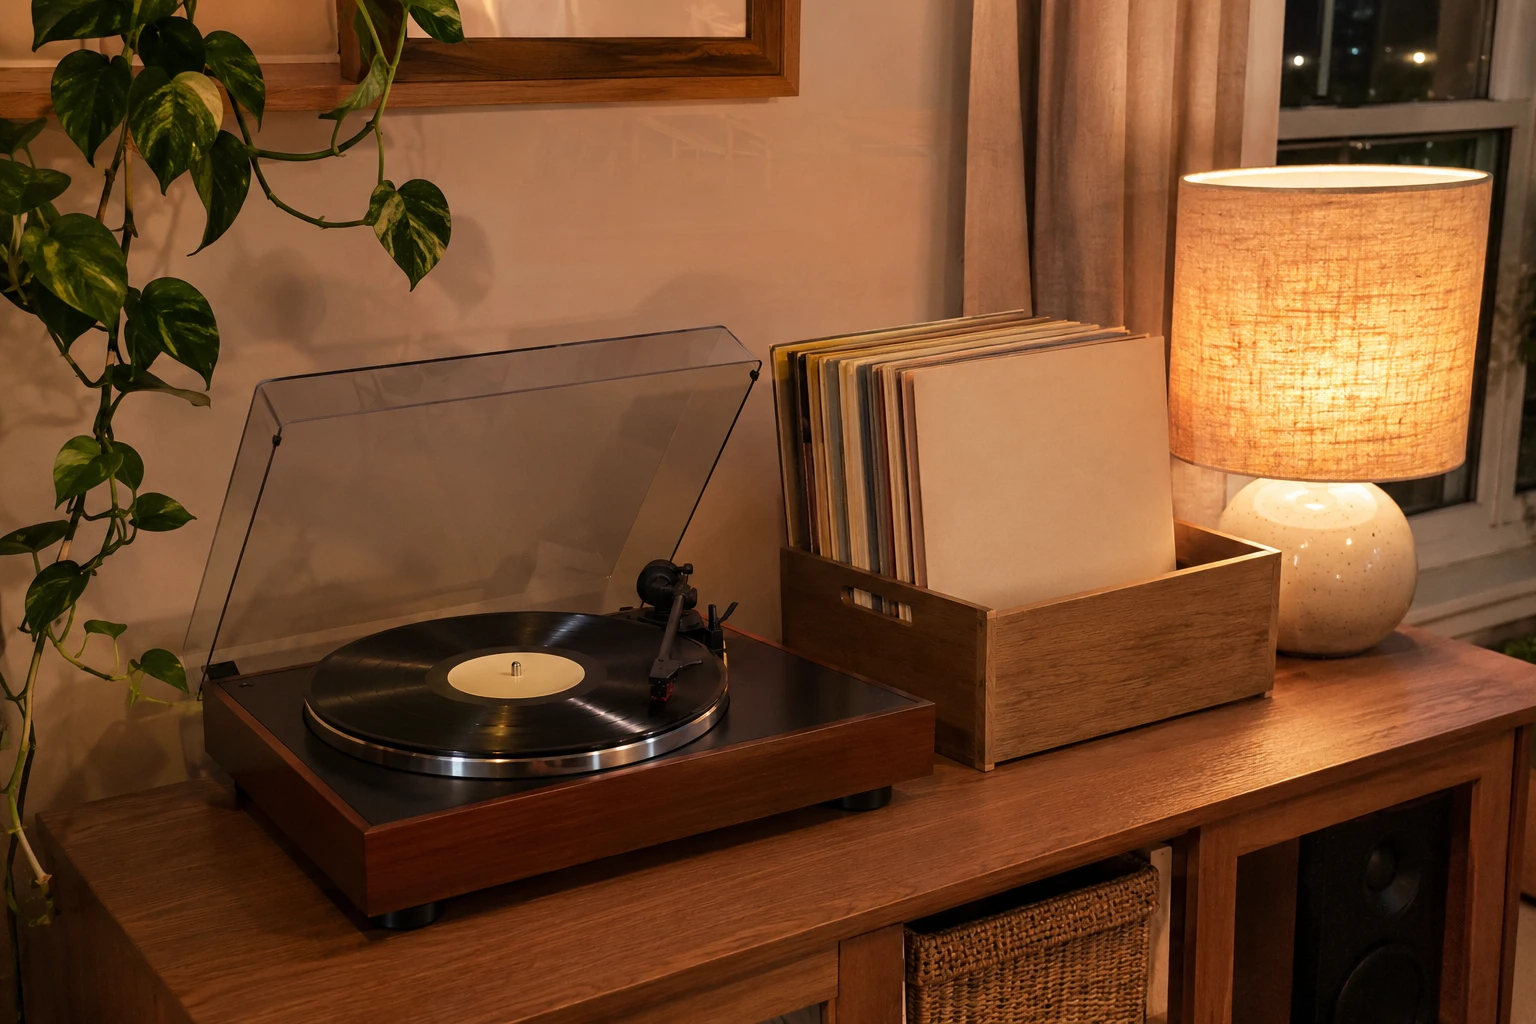
Store records standing upright, never stacked flat in a pile, where the weight can warp the ones at the bottom. A 12-inch album jacket is about 12.4 inches (31.5 cm) square, so look for shelves or cubes with at least about 13 inches (33 cm) of interior height and depth. Fill rows loosely enough to pull a record out without dragging its neighbors, and use a firm divider or bookend in a partly filled row so records don’t lean.
Choose sturdy furniture with a stated weight capacity; records are heavy, and a full row of albums adds up quickly. The Library of Congress guidance on caring for recordings supports upright storage on sturdy shelving in a stable environment away from direct heat and light. In practice, that means an inside wall rather than beside a radiator or a sunny window.
If the shelf competes with seating or a walkway, these small living room layout ideas help you plan the furniture footprint.
6. Build a care routine you can keep up
Before each play, give the record a quick dry brush. If you buy one accessory with your first records, make it a brush; the Audio-Technica AT6011 record brush (paid link) is a simple one for loose surface dust. Hold it lightly on the spinning record for a couple of rotations, then angle it off toward the edge. A brush won’t fix scratches or remove sticky dirt; heavily dirty used records need a proper wet clean with a product made for vinyl. Don’t use vinyl cleaners on shellac 78s, and never put a damp record back in its sleeve.
Put each record back in its sleeve right after listening instead of leaving it on the platter. Keep a simple list of what you own, with the artist, album, catalog number and condition, to avoid buying duplicates. After a month, look at which albums you actually played and let that guide the next purchase. Starting a vinyl collection isn’t a race to a certain number; it’s a way to spend more deliberate time with music you love.