
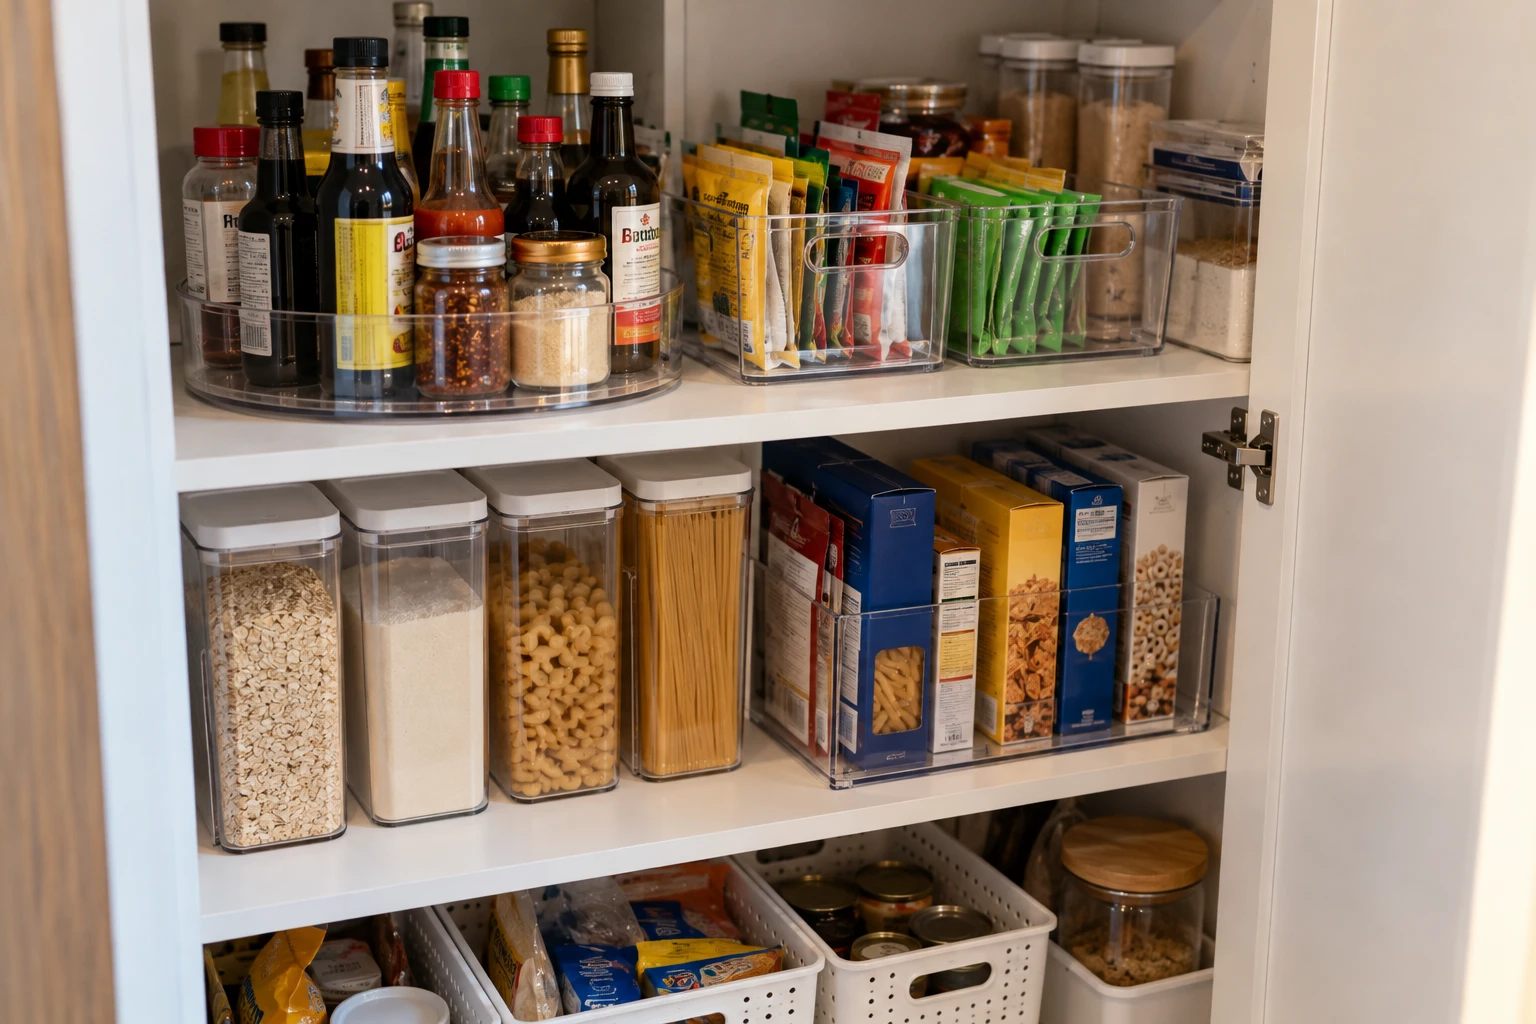
Rows of matching jars look great on Pinterest, but they take a lot of upkeep, and you lose the label every time you pour. The small pantry organization ideas below skip most of the decanting and focus on what actually helps: grouping what you cook together, fixing the shelf where you search the most and keeping ingredients, allergen information and dates right on the package.
This article contains affiliate links. As an Amazon Associate I earn from qualifying purchases.
Start with a 15-minute pantry sort
Take everything off one shelf at a time, not the whole pantry at once. As you go:
- Check for anything opened long ago, damaged, leaking or showing signs of pests, and throw it out.
- Group duplicates together so you can see how many you have.
- Set aside food you won’t use that’s still sealed and in date for a food bank.
Wipe the shelf before putting anything back. Do this before buying a single organizer; most people find they have more room than they thought.
1. Give small bottles a turning space
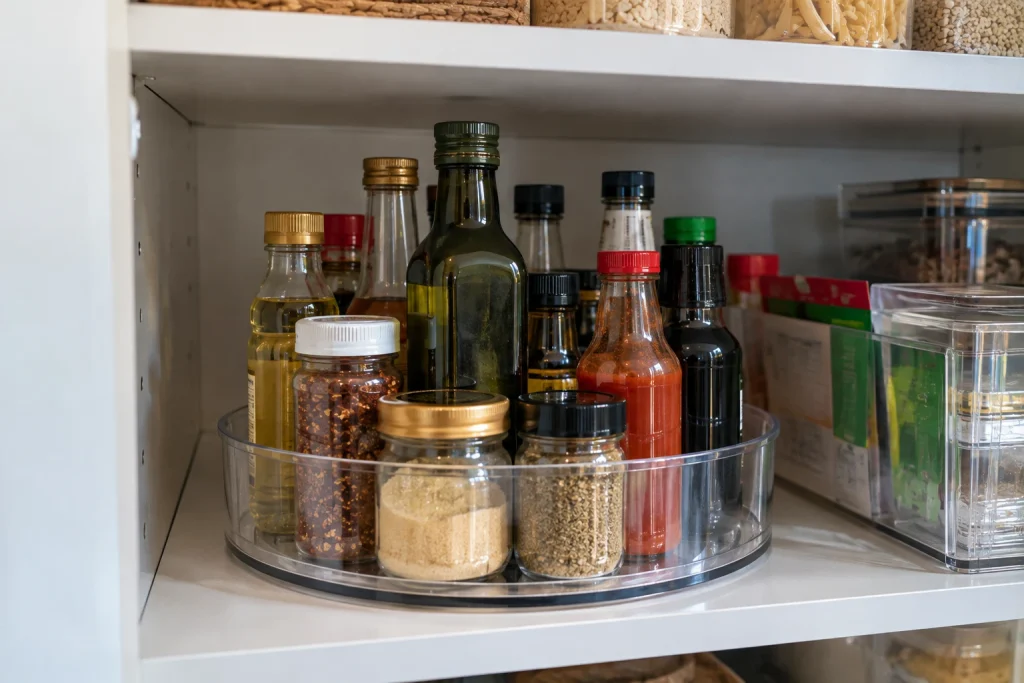
Deep shelves hide short bottles behind tall ones. A turntable brings a small group to the front without moving everything else. It works best for a limited set of similar-height items, such as sauces or oils you use in the same meals.
If you buy just one pantry organizer, I’d make it a turntable. An OXO Good Grips 11-inch turntable (paid link) is the size I’d look at first, as long as the whole base fits. The shelf needs to be at least about 11.5 inches (29 cm) deep and the door opening wide enough to get it in past the hinges. Spin your tallest bottle under the shelf above before deciding where the group goes.
Round organizers waste the corners of a rectangular shelf, so use one only where visibility is the real problem. A narrow pantry with a few bottles may do better with one straight row.
2. Build zones around meals you repeat
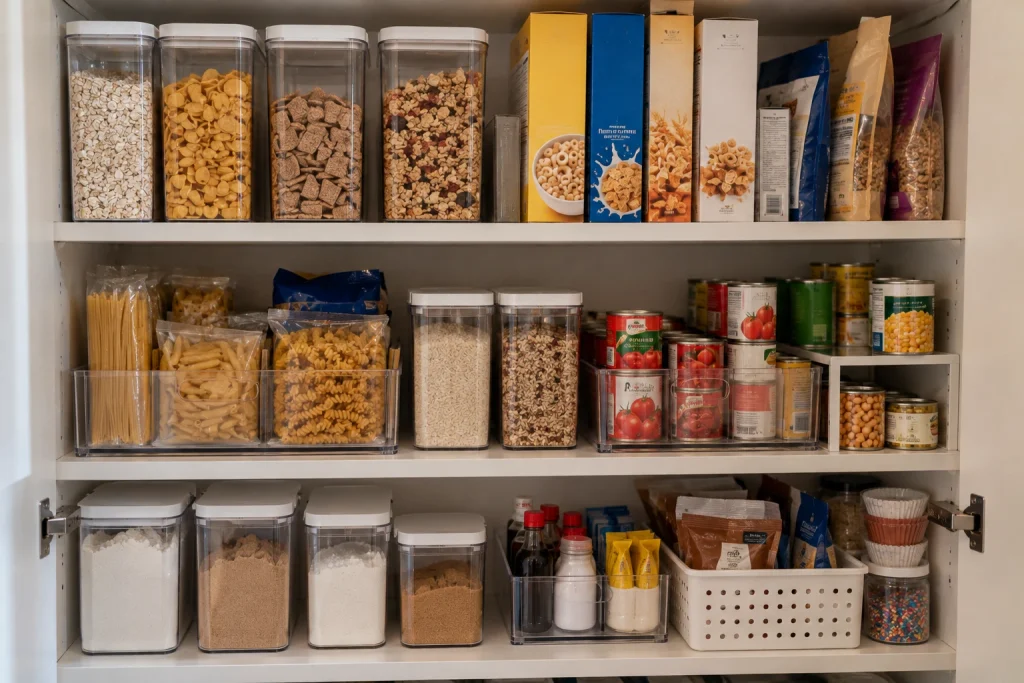
Zones do more work than any product in this post. Choose categories from your real cooking routine. “Breakfast,” “lunch boxes,” “baking” and “quick dinners” are often more useful than “grains,” “cans” and “miscellaneous.” Keep pasta next to the sauce you usually use with it if that makes dinner faster.
Don’t make so many zones that each holds one item. A good category is broad enough to survive a normal grocery shop. Write labels on paper or masking tape first and see whether everyone in the house follows them before making anything permanent. If someone has a food allergy or dietary restriction, give their food a clearly labeled, separate area.
3. Use a shallow box for floppy packets
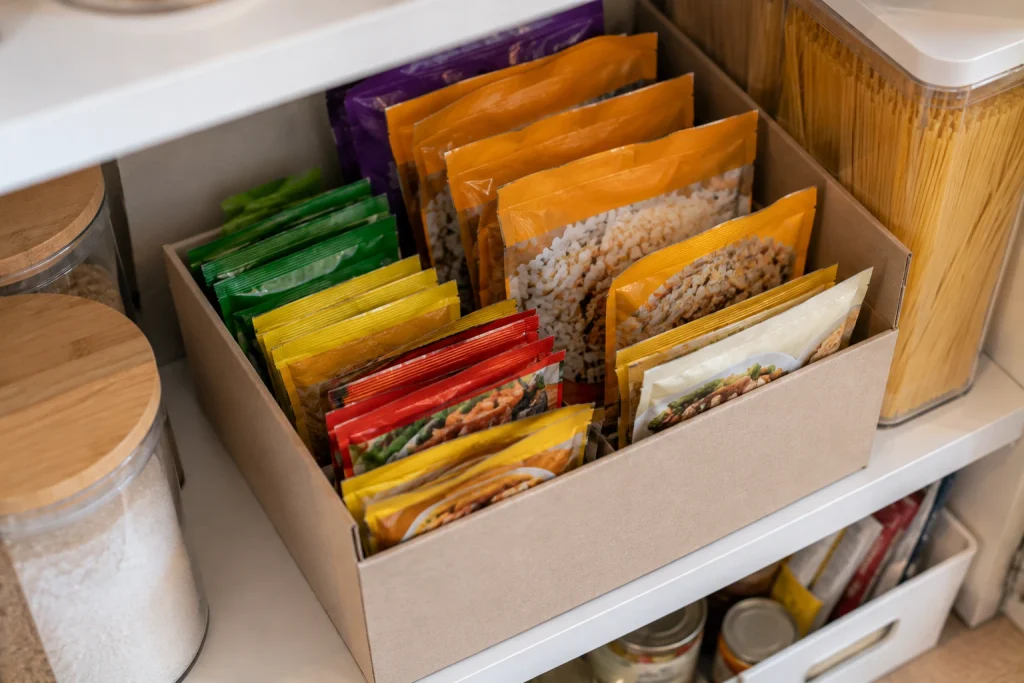
Rice pouches, seasoning packets and snack bags fall over because they have no flat base. Stand them upright in a shallow box with the tops showing. A clean, sturdy box you already have is enough to test the idea; clear bins help later because you can see what’s inside.
Put shorter packets at the front and taller ones behind. Leave enough room to pull one out without dragging its neighbors. Close opened packets with a clip and follow the package’s storage instructions. A decorative basket doesn’t seal anything.
4. Store backups behind the item in use
A spare jar is easy to remember when it lives directly behind the open one. Keep duplicates in the same zone instead of tucking them into spare corners, so you can see your stock when you write a shopping list.
Put the item you should use first at the front. Most “best if used by” dates describe quality rather than safety, according to the USDA, but anything with a damaged, bulging or leaking package should go regardless of the date. For bulk buys that don’t fit, create one overflow spot elsewhere and leave a note on the pantry shelf saying what’s stored there. Hidden extras are how people buy the same thing three times.
5. Put everyday items at easy reach
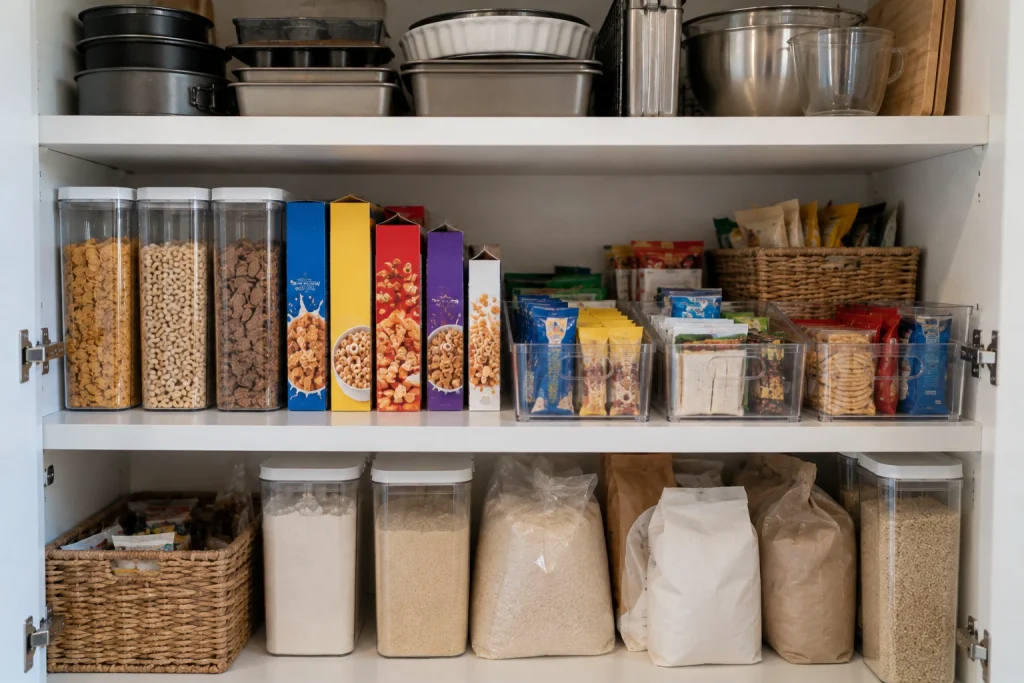
Shelf height makes a big difference in a small pantry. Use this as a guide:
| Shelf | Best for |
|---|---|
| Top (above shoulder) | Light, rarely used items: party supplies, holiday baking tins, spare paper goods |
| Middle (between knee and shoulder) | Food you use every day or week: cereal, snacks, pasta, sauces |
| Lower | Kids’ snacks they can reach, heavy cans |
| Floor | Heavy bags of rice, flour or pet food; drinks |
Keep heavy items low so nobody lifts them overhead. If you add a door rack, check the door and hinge weight limits and make sure the door still closes when the rack is full. Test it with a light mock-up first.
6. Leave a temporary landing space
A pantry needs a spot for things that haven’t been put away yet. Leave a small open area near the front, or use the counter beside the pantry while you unpack groceries. Otherwise, the nearest shelf becomes the default pile. Clear it before the next shop. If it’s always full, the zones are too tight or you’re keeping more than the pantry can hold.
7. Decant only when it solves a problem
I’m not against decanting, just against decanting everything. A container earns its place when the original package is hard to reseal, hard to pour from or genuinely wastes space, like a half-empty bag of flour or a box of cereal that goes stale. Choose a food-safe container with a lid that’s easy to open.
- Match the size to the amount you normally buy, so a whole bag fits and you’re not left storing a partial package too.
- Keep the label: cut out the ingredients, allergen and date panel and tape it to the container.
- Don’t top up forever. Finish the old contents, wash and fully dry the container, then refill.
Some foods need the fridge once opened, so follow the package rather than assuming everything dry-looking belongs on the shelf. Coffee and tea have their own storage needs too; these coffee station ideas cover what to keep out and what to store.
8. Reset the pantry before you make a list
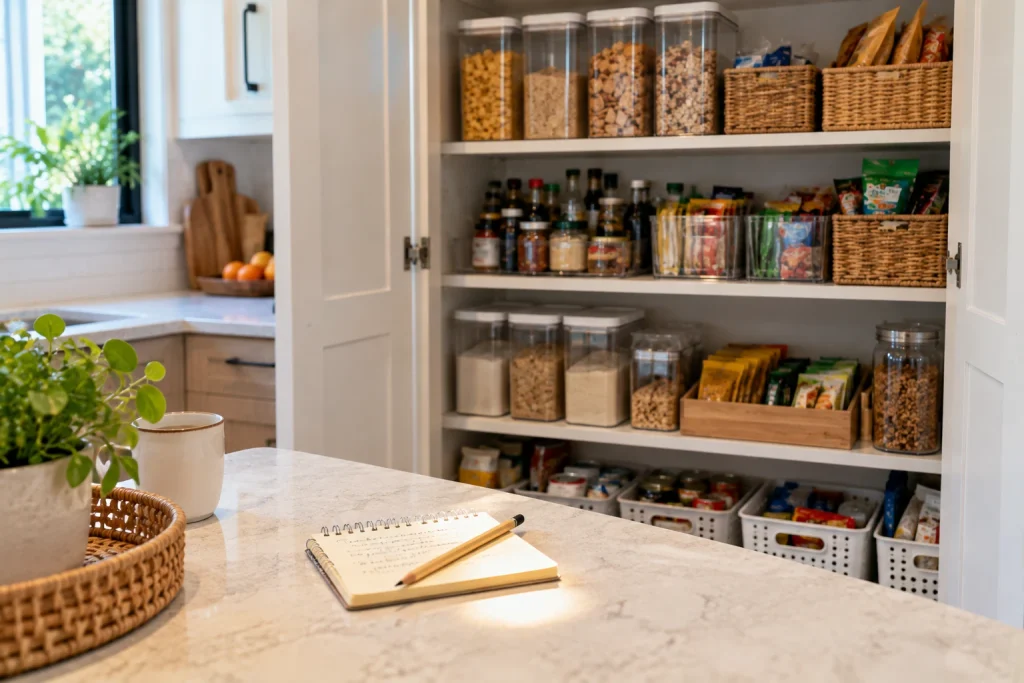
Before each shop, spend five minutes putting items back in their zones and checking open packages. Plan your next meal around something that’s already there. That gives the organization a real job beyond looking tidy.
If a category keeps overflowing, change its boundary or buy smaller amounts. If food keeps disappearing at the back, make that zone shallower rather than adding more labels. Take one straight-on photo after the reset so anyone putting groceries away can see where things go. The system is working when someone else can find a snack, put the cereal back and see what’s running low without asking.
Keep the nearby work surface clear too, with these kitchen counter organization ideas.