
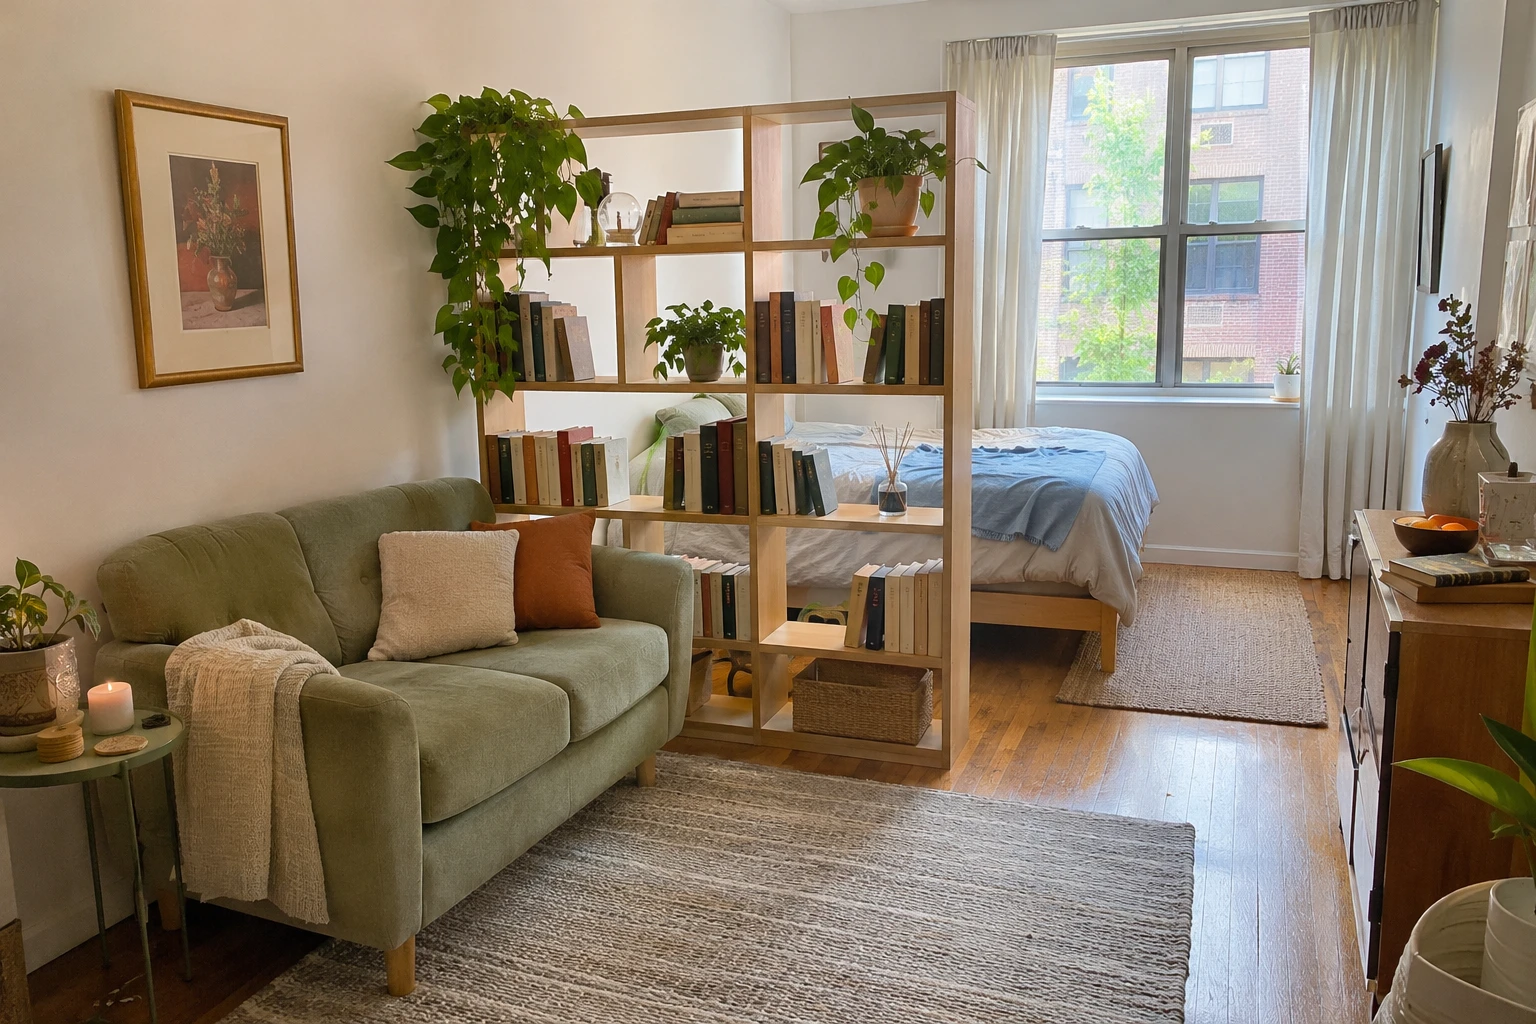
The biggest mistake in a studio is treating it like one big bedroom with a couch in it. One room has to be your bedroom, living room, dining room, office and entryway at once, and without some structure it all blurs together. Good studio apartment layout ideas fix that by creating clear zones, so every activity has its own spot even without walls.
This guide walks through mapping your zones, choosing a layout for your room’s shape, dividing space without building anything, and picking furniture that does more than one job. Start with a tape measure and a piece of paper before you move any furniture.
Map your zones before moving anything
Draw a rough floor plan of your studio on paper. Mark the doors, windows, radiators, outlets and any kitchen area, since these decide where things can go. Then list the zones you actually need. Most studios need four or five:
- Entry: shoes, keys, bag and coat.
- Sleep: the bed and a surface beside it.
- Living: a sofa or chairs and somewhere to put a drink.
- Eating: a table, even a small one, or a counter with stools.
- Work: a desk if you work from home regularly.
Be honest about how you live. If you always eat on the sofa, a dining table may waste space; if you work from home five days a week, a real desk matters more than a big sofa.
Choose a layout for your room’s shape
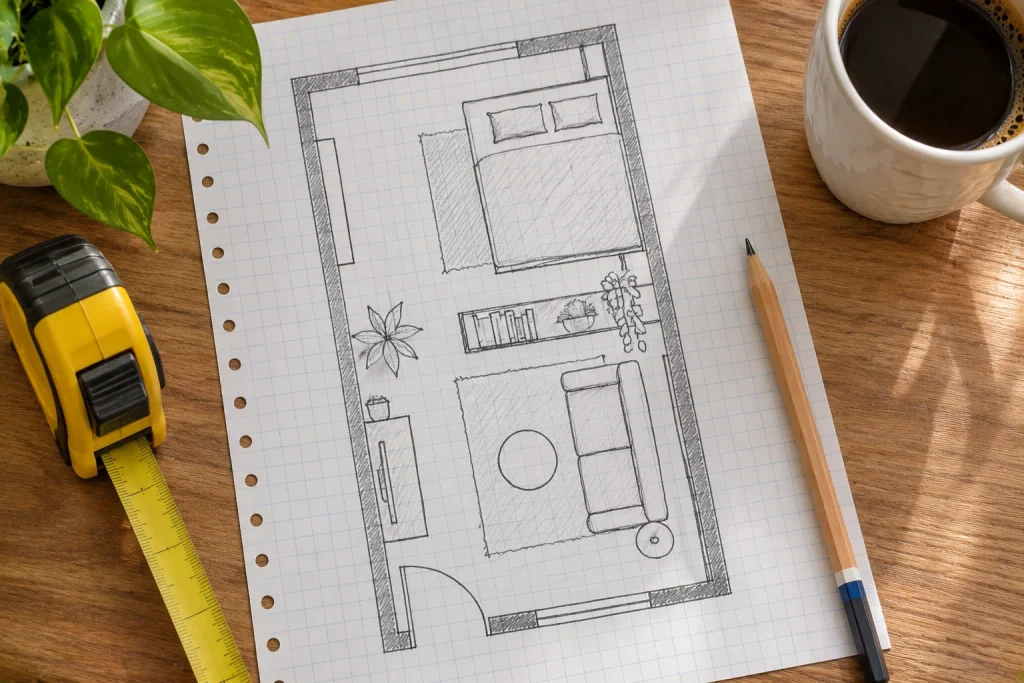
The shape of the room usually points to the best arrangement:
| Studio shape | Layout that usually works |
|---|---|
| Long and narrow | Zones in a line: entry and kitchen near the door, living in the middle, bed at the far end by the window |
| Square | Bed in one corner, living area diagonally opposite, a small table near the kitchen |
| L-shaped | Bed in the short leg of the L for privacy, living and eating in the main part |
| Alcove or nook | Bed or desk in the alcove, which acts like a separate room |
In most layouts, the bed works best on the far side of the room from the entrance. That keeps it out of view when someone comes to the door and makes the room feel more like a home than a bedroom.
Keep clear walkways between zones
Zones only work if you can move between them easily. Aim for a main path about 30 to 36 inches (76 to 91 cm) wide from the front door to the window and the kitchen. Leave about 24 inches (61 cm) beside the bed so you can get in and out and make it comfortably.
Mark furniture positions on the floor with painter’s tape before moving anything heavy, then walk the routes you take every day: door to kitchen, bed to bathroom, sofa to window.
Divide space without building walls
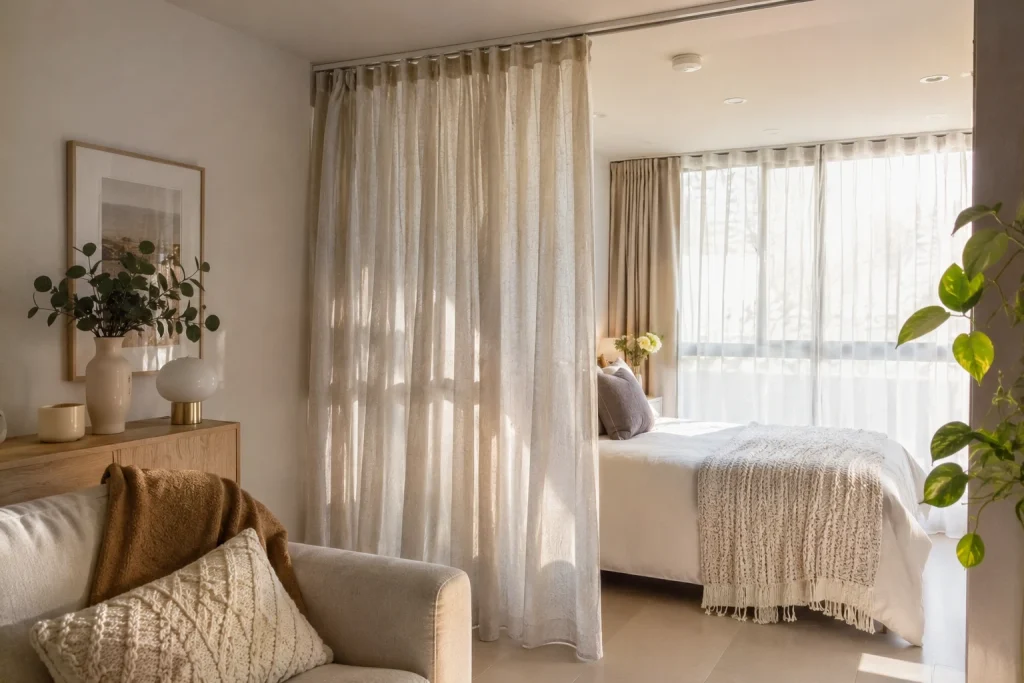
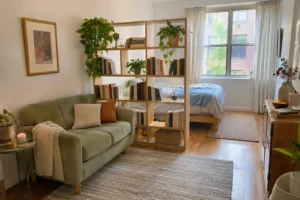
My favorite dividers are an open bookcase or a rug, because they separate zones without blocking light. You can separate zones visually without blocking light. Some options, from lightest to most solid:
- Rugs: a rug under the living area and a different one by the bed define two zones instantly.
- Furniture backs: the back of a sofa facing the bed creates a clear boundary, especially with a narrow console table behind it.
- Open bookcase: an open-back bookcase lets light through while giving the bed some privacy. Anchor it to the floor or wall, since a freestanding bookcase in the middle of a room can tip.
- Curtains: a ceiling-mounted curtain track around the bed area can be opened during the day and closed at night. Some tension and clamp systems avoid drilling.
- Folding screens: easy to move, good for hiding a desk or laundry.
Pick furniture that does two jobs
If I had to choose one hard-working piece for a studio, it would be a bed with storage underneath. In a studio, every piece should earn its place. Furniture that works especially hard:
- A bed with storage drawers or one raised on risers with bins underneath.
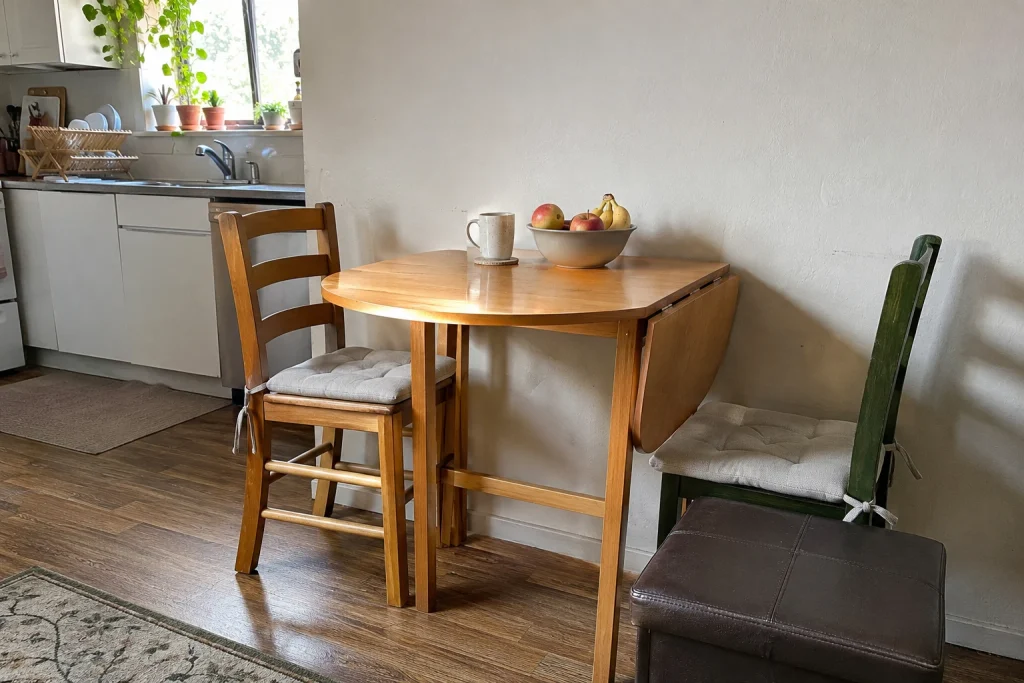
- A drop-leaf or extendable table that stays small most of the time and opens for guests.
- A storage ottoman that serves as a footrest, extra seat and blanket box.
- A daybed or sofa bed, if you’d rather the bed disappear during the day. Try it in person first, since comfort varies a lot.
- Nesting tables that tuck together when you need floor space.
- A slim desk or wall-mounted fold-down desk that closes at the end of the workday.
Choose a few larger pieces rather than many small ones. Lots of small furniture breaks up the floor and makes a studio feel cluttered.
Use height for storage
Floor space is precious, but wall space usually isn’t being used. Tall, narrow bookcases, shelves above the desk, hooks by the door and a shelf above the bed (lightweight items only) all add storage without taking up any floor. Keep the tallest storage against the walls and lower furniture in the middle of the room so the space still feels open.
Light each zone separately
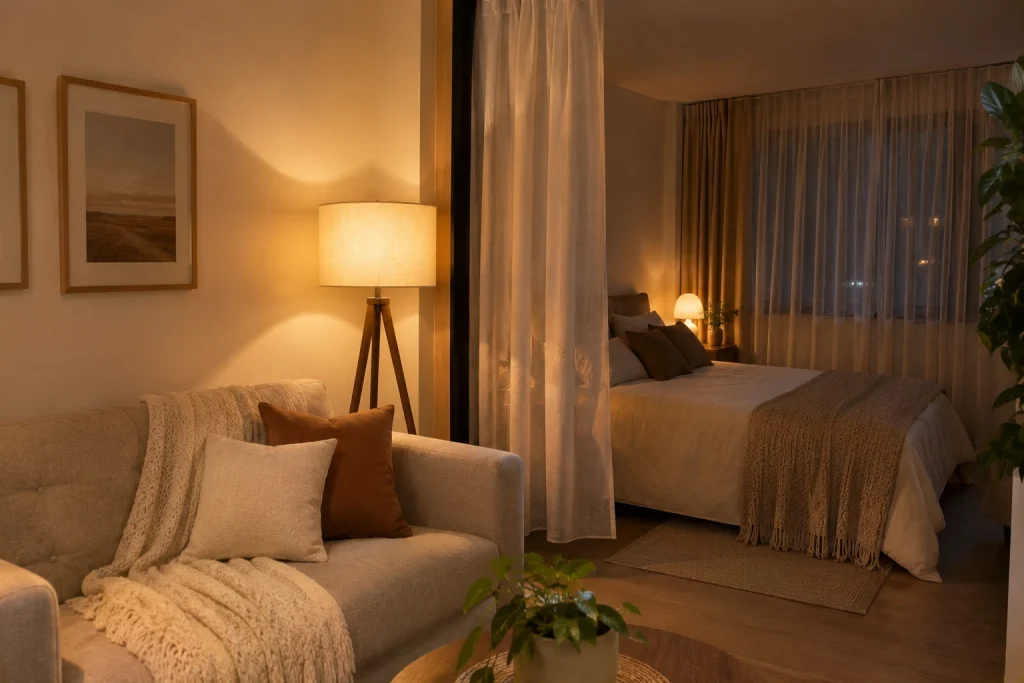
Honestly, this is the most underrated studio tip on the list. One ceiling light makes every zone look the same. Give each zone its own light so you can “switch rooms” in the evening: a floor lamp by the sofa, a bedside lamp, a desk lamp, and a pendant or table lamp over the dining spot. Turning off the desk lamp at the end of the day is a simple way to mark that work is over.
Warm white bulbs, around 2700 to 3000K, suit the living and sleeping zones. A slightly cooler light can help at the desk.
Keep the palette calm
When everything is in one room, too many colors and patterns make it feel chaotic. Choose a simple palette of two or three main colors and repeat them across zones, for example in the rug, bedding and cushions. The zones then look connected rather than like separate rooms squeezed together.
Common studio layout mistakes
- Pushing everything against the walls. It seems to save space, but it leaves an empty middle and no zones. Floating the sofa a little into the room often works better.
- Facing the bed toward the door. The bed becomes the first thing anyone sees. Turn it, screen it, or move it to the far side of the room.
- Buying a full-size sofa and a full-size table. In most studios you need to choose which zone gets the bigger piece.
- Blocking the window. Tall dividers and bookcases in front of the only window make the whole studio darker.
- Skipping storage for daily clutter. Without hooks, baskets and drawers, laundry and mail end up spread across every zone.
Give the entry a real home
Studios often have no hallway, so shoes and bags spill straight into the living area. A small shoe rack, a few wall hooks and a tray for keys by the door keep the entry contained. Even a narrow strip of wall is enough, as these narrow entryway ideas show.
If you’re starting from scratch, the order I’d follow is simple: place the bed first, protect the main walkway second, and let everything else fit around those two decisions.
For more ways to plan furniture around a bed, see these small bedroom layout ideas. Many of the same measurements apply to the sleeping zone of a studio.