
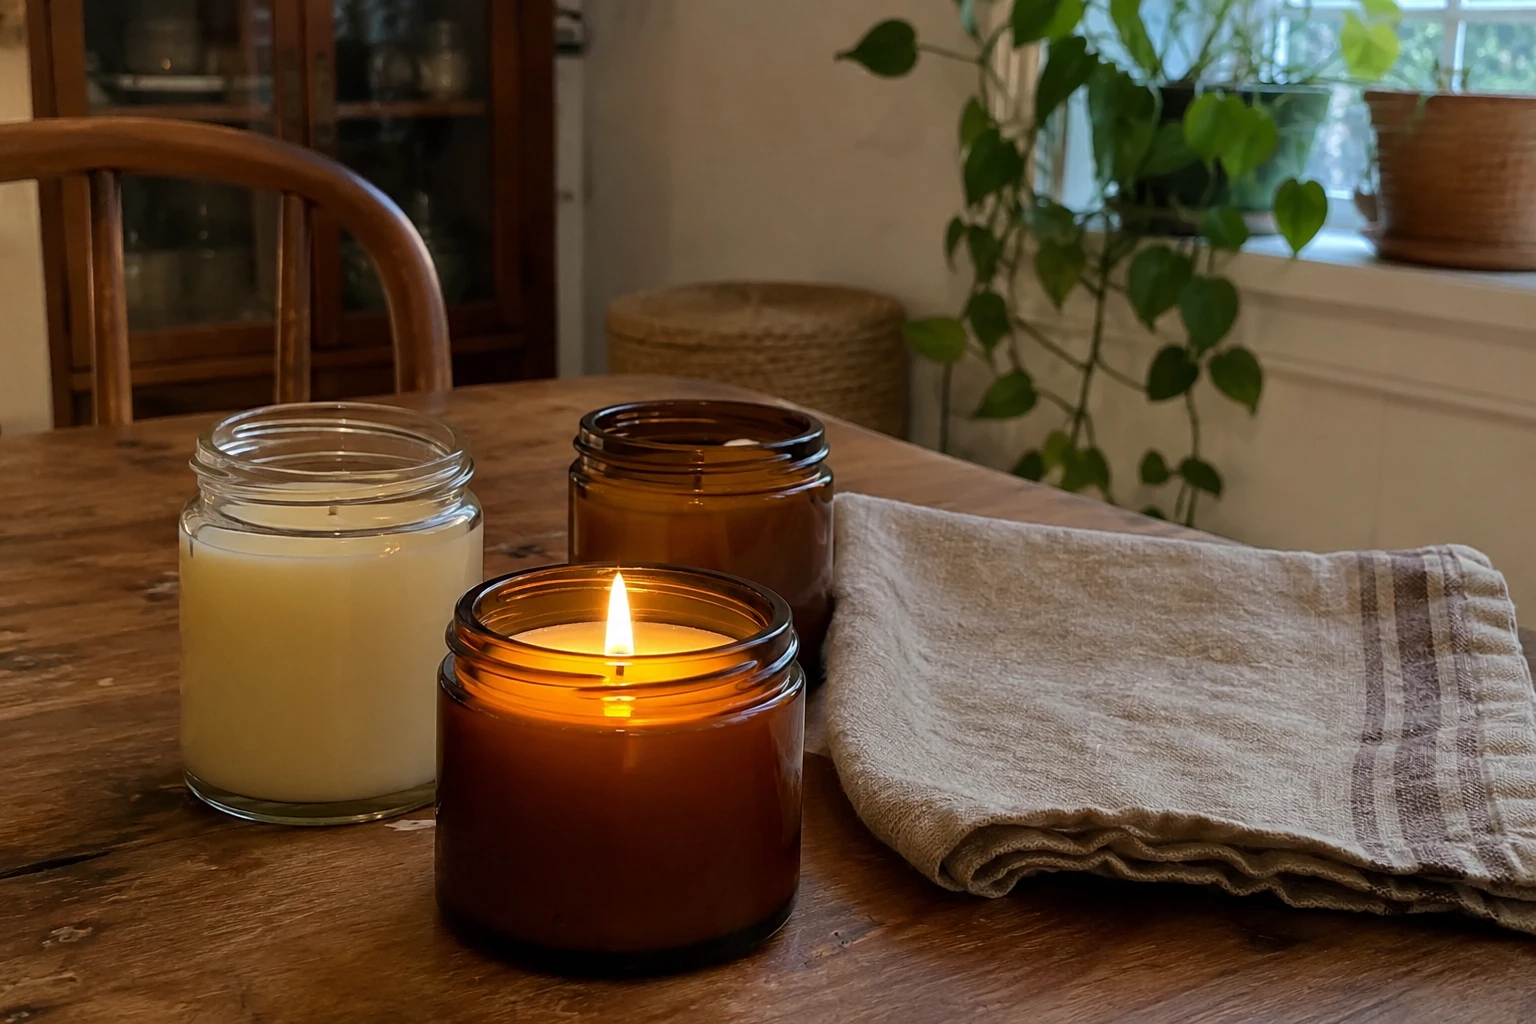
Homemade candles are one of the most popular handmade gifts, and I think they’re well worth learning to make properly. Making DIY soy candles in jars is easier than it looks, but hot wax and fire mean careful steps matter more than in most crafts. A thermometer and the right wick are what separate a candle that burns cleanly from one that tunnels or smokes.
This beginner guide covers supplies, how much wax to use, the melting and pouring process, curing, first-burn tips and the safety rules that apply every time. Temperatures here are typical for many container soy waxes; always follow the instructions from your wax and fragrance supplier, since blends vary.
What you’ll need
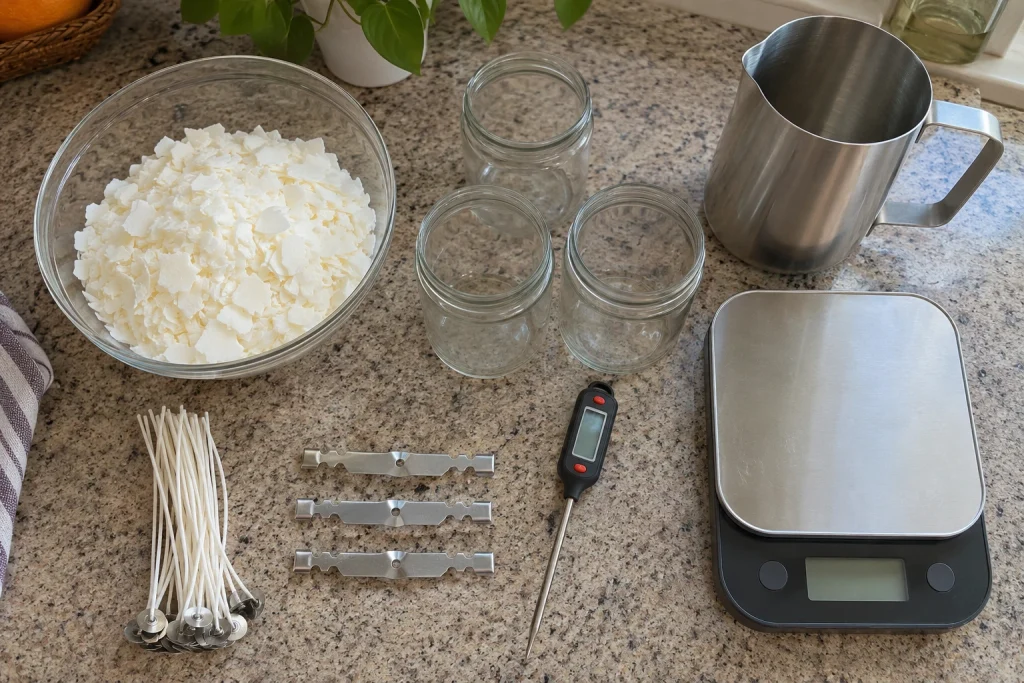
- Container soy wax (flakes or pellets), sold specifically for candles in jars
- Heat-safe jars made for candles, with smooth, thick glass. Thin decorative glass can crack from heat.
- Pre-tabbed wicks sized for your jar’s diameter
- Wick stickers or a dab of hot glue to fix wicks to the base
- Wick centering bars or two clothespins or chopsticks
- Candle fragrance oil made for candles (optional)
- Pouring pitcher and a large pot for a double boiler
- Thermometer: a digital or candy thermometer
- Kitchen scale
- A lid or baking sheet that fits over your pot, for safety
How much wax do you need?
Measure your jar’s volume with water. Fill it to where you want the candle to finish, about 1/2 inch (12 mm) below the rim, then pour the water into a container on your scale and note the weight. Soy wax is lighter than water, so you’ll need roughly 85 to 90% of that weight in wax. For example, a jar that holds 8 oz (225 g) of water needs about 7 oz (200 g) of wax. Melt a little extra for topping up.
Choose the right wick
If a candle disappoints, the wick is usually the reason. The wick is the most important part of a well-burning candle. Too small, and the candle tunnels down the middle, leaving wax on the sides. Too large, and the flame is tall, smoky and can overheat the jar. Wick suppliers publish sizing charts based on jar diameter and wax type; start with their recommendation for your jar and wax, then test-burn one candle before making a batch.
Step 1: Prepare the jars
Wash and fully dry the jars. Stick a wick to the center of each base with a wick sticker or a dab of hot glue. Hold the top of the wick straight and centered with a centering bar or two clothespins resting across the rim. Place jars on a protected, level surface away from drafts.
Step 2: Melt the wax gently
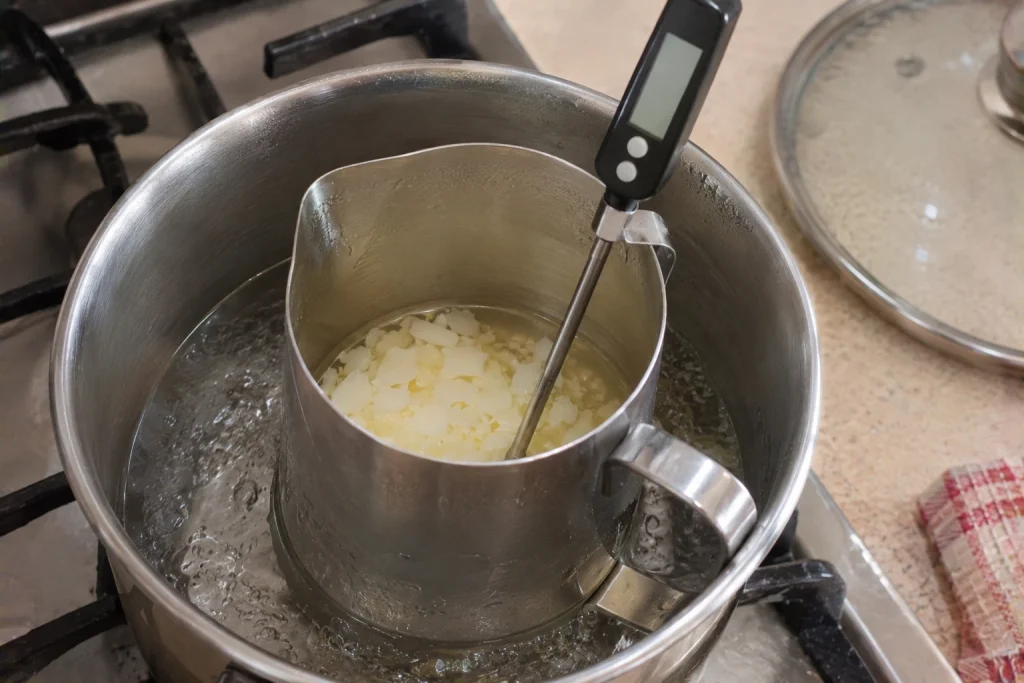
Use a double boiler: set the pouring pitcher in a pot with a few inches of simmering water. Never melt wax in a pan directly on a burner, which can overheat it quickly. Many container soy waxes are melted to around 180 to 185°F (82 to 85°C). Watch the thermometer, and never leave melting wax unattended.
Step 3: Add fragrance
Add fragrance oil at the temperature your wax supplier recommends, often around 185°F (85°C), when the wax is hot enough for fragrance to bind well. Use no more than the maximum fragrance load for your wax, typically between 6 and 10% of the wax weight. For 200 g of wax, 8% is 16 g of fragrance. Stir gently but thoroughly for about two minutes.
Only use oils made for candles. Some essential oils and food flavorings aren’t designed for burning, and too much oil can make candles burn poorly or “sweat.”
Step 4: Cool slightly and pour
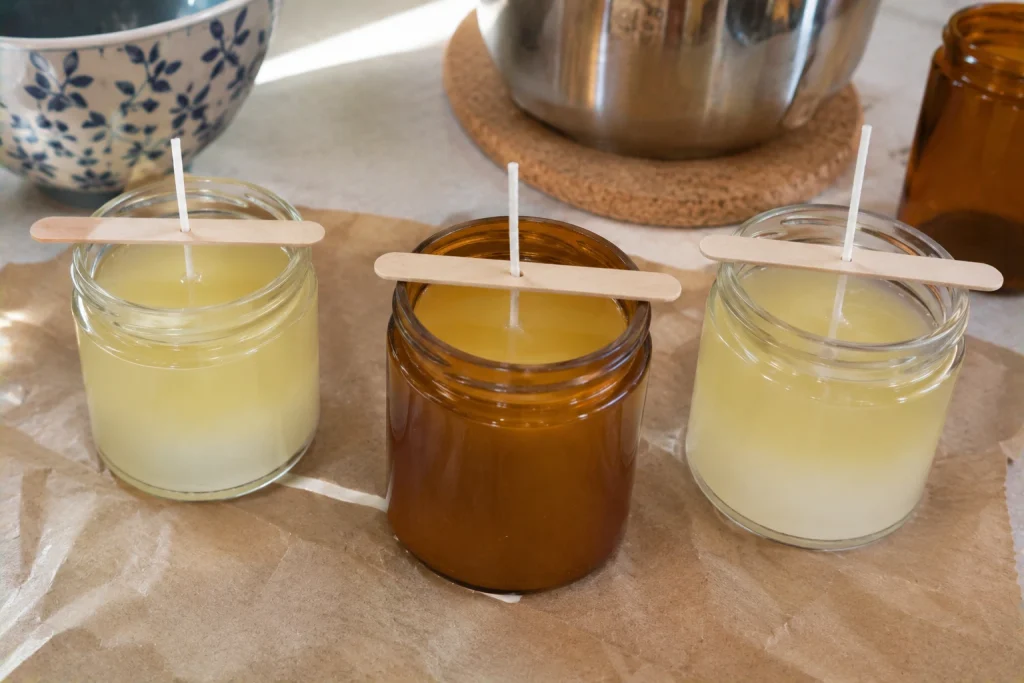
Let the wax cool to its recommended pouring temperature, often around 130 to 140°F (54 to 60°C) for container soy. Pouring too hot can cause cracks and sinkholes; too cool, and the surface may look lumpy. Pour slowly into each jar, leaving the wick centered.
Let the candles cool at room temperature, undisturbed, for at least 24 hours. Avoid putting them in the fridge to speed things up, which causes cracking and uneven tops.
Step 5: Fix the tops and trim
Soy wax often develops small sinkholes or a rough surface as it cools. Re-melt a little reserved wax and pour a thin top layer, or pass a heat gun or hair dryer briefly over the surface. Once fully set, trim the wick to about 1/4 inch (6 mm).
Step 6: Let them cure
Honestly, this is the hardest step, because it means waiting. Soy candles smell stronger after curing, when the fragrance has fully bonded with the wax. Most makers recommend waiting about one to two weeks before burning, with the jars covered and stored at room temperature away from sunlight.
The first burn matters
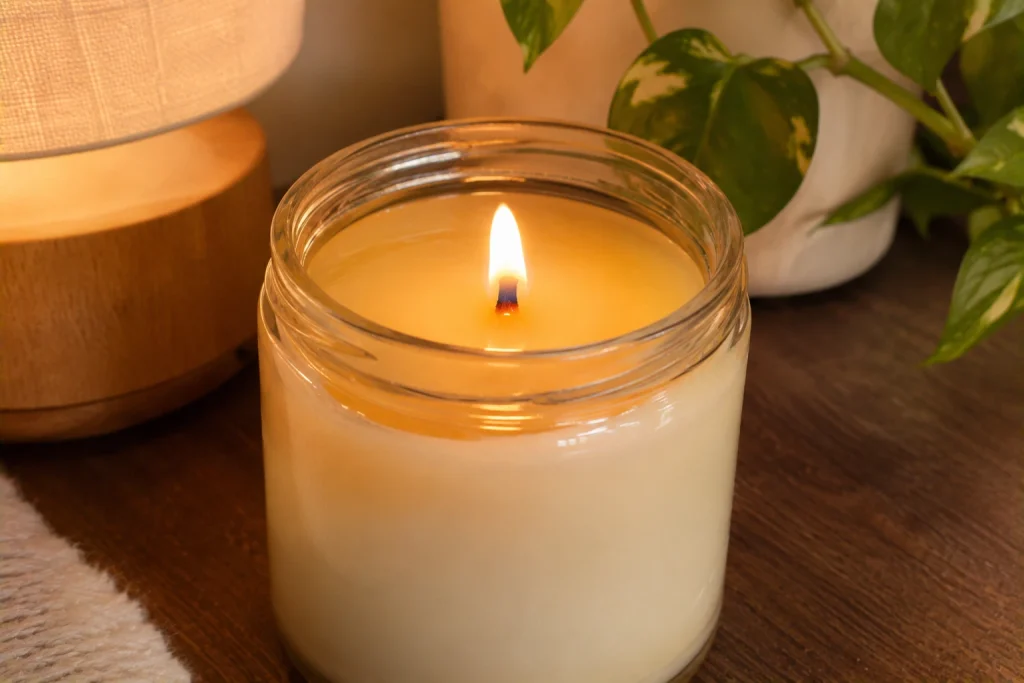
Please don’t blow it out after 20 minutes. Soy wax has a “memory.” On the first burn, let the candle burn until the melted pool reaches the edges of the jar, which often takes about one hour for each inch of jar diameter. Stopping earlier creates a tunnel that the candle tends to follow every time after.
Candle safety groups also recommend burning candles for no more than about four hours at a time, trimming the wick to 1/4 inch before each burn, and stopping when about 1/2 inch (12 mm) of wax remains in the bottom, so the jar doesn’t overheat.
Candle-making safety rules
- Never leave melting wax or a burning candle unattended.
- If wax catches fire, turn off the heat and cover the pot with a lid or baking sheet. Never use water on a wax fire.
- Keep a fire extinguisher suitable for grease fires in the kitchen.
- Keep children and pets away from hot wax and burning candles.
- Burn candles at least 12 inches (30 cm) from anything that can catch fire, on a heat-resistant surface.
- Add a warning label to candles you give as gifts, with burning instructions.
Troubleshooting
| Problem | Likely cause | Fix |
|---|---|---|
| Tunneling | Wick too small or short first burn | Size up the wick; burn longer on first use |
| Tall, smoky flame | Wick too large or untrimmed | Trim to 1/4 in; size down the wick |
| Weak scent | Not cured, or fragrance added too cool | Cure longer; add fragrance at the right temperature |
| Wet spots on the glass | Wax pulling away as it cools | Warm jars before pouring; pour a little cooler |
| Cracked or sunken top | Cooled too fast or poured too hot | Cool at room temperature; top up with a thin layer |
For your first batch, I’d make two or three small candles with the same wax, wick and fragrance. Once you know how one combination burns, you can start experimenting.
Candlelight makes any room feel cozier; see these cozy living room lighting ideas for more ways to soften your evenings. If you’re making candles as gifts, add one of these handmade greeting cards.