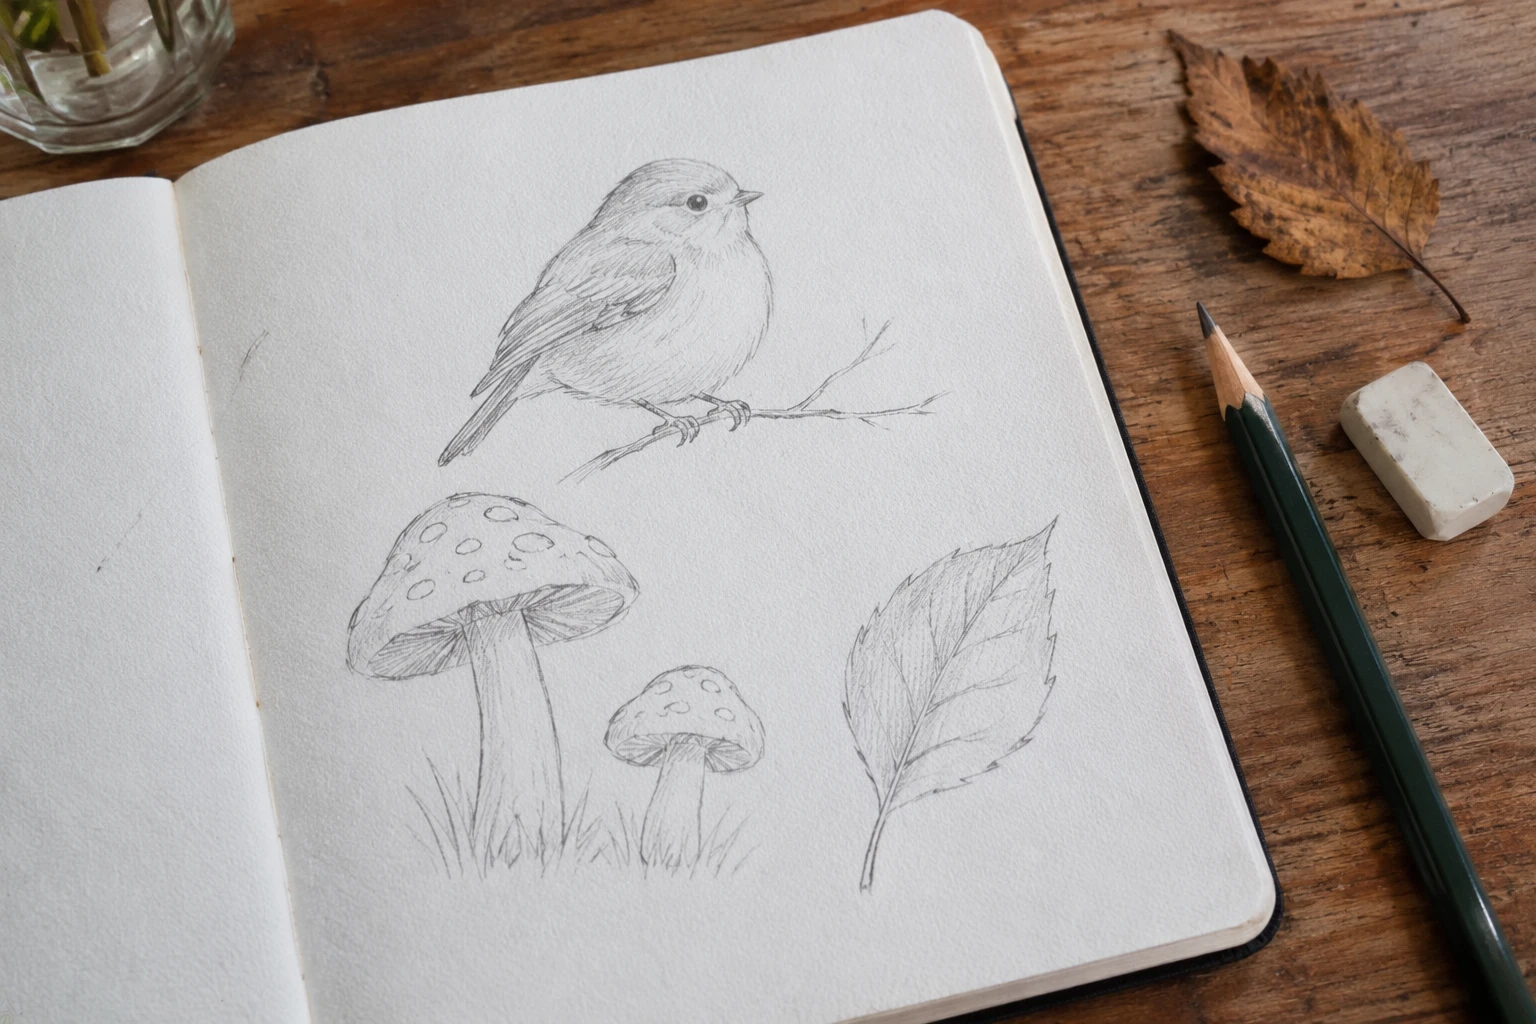
You don’t need to be “good at drawing” to sketch nature. Birds, mushrooms, leaves and flowers are built from simple shapes, and they’re everywhere, from a park bench to your windowsill. That’s why I think it’s one of the best ways to start drawing as a calm, screen-free hobby. This easy nature sketching for beginners guide assumes no experience at all.
This guide covers simple supplies, the basic-shapes method that makes any subject easier, step-by-step approaches for birds, mushrooms and leaves, and a 10-minute daily practice routine.
What you’ll need
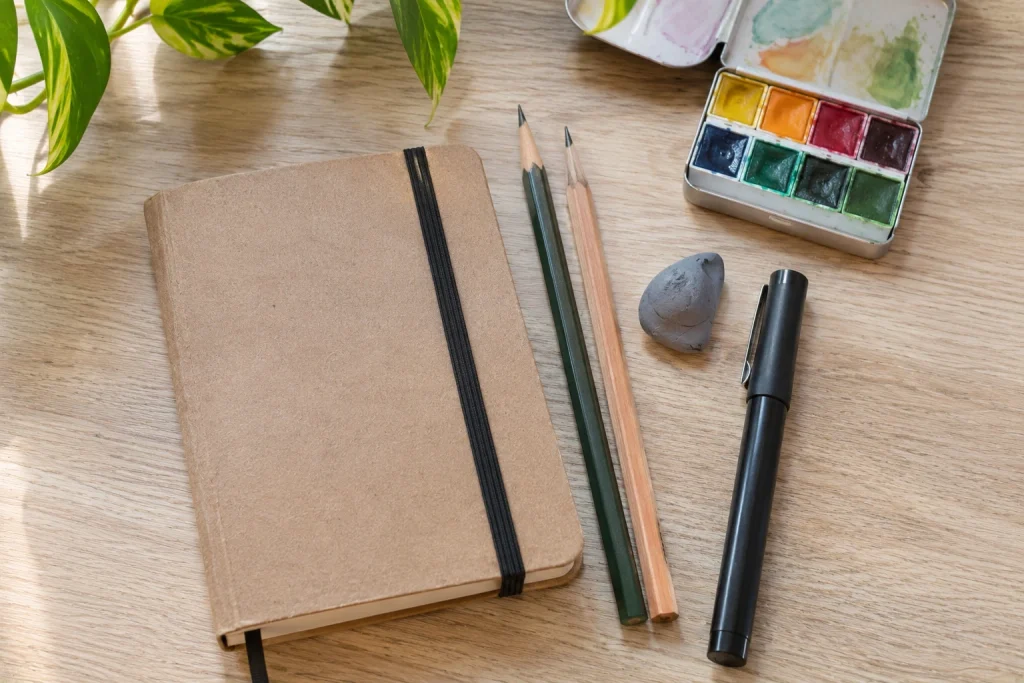
- Pencils: an HB for light outlines and a 2B or 4B for darker lines and shading.
- A kneaded eraser, which lifts graphite gently without damaging paper.
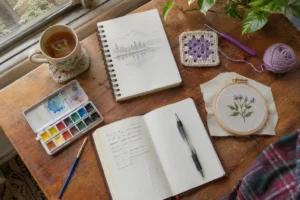
- A sketchbook, about 5 × 8 in (13 × 20 cm), small enough to carry outside.
- A fine-liner pen (optional) for inking over pencil.
- A small watercolor set (optional) for adding color later.
Start cheap. An expensive sketchbook can make you nervous about “wasting” pages; an ordinary one lets you practice freely.
The basic shapes method
This is the single idea I’d want every beginner to know. Almost everything in nature can be broken down into simple shapes: circles, ovals, triangles and lines. Instead of trying to draw a bird all at once, you draw an oval for the body and a circle for the head, then refine. This is the single most useful trick for beginners.
- Look first. Spend 30 seconds looking at your subject before drawing. What big shapes do you see?
- Draw light. Sketch the basic shapes very lightly with an HB pencil, so you can adjust them.
- Check proportions. Is the head a third the size of the body? Is the stem longer than the cap is wide?
- Refine. Draw the real outline over the shapes with firmer lines.
- Add detail and shade last, then erase the guide shapes.
How to sketch a bird
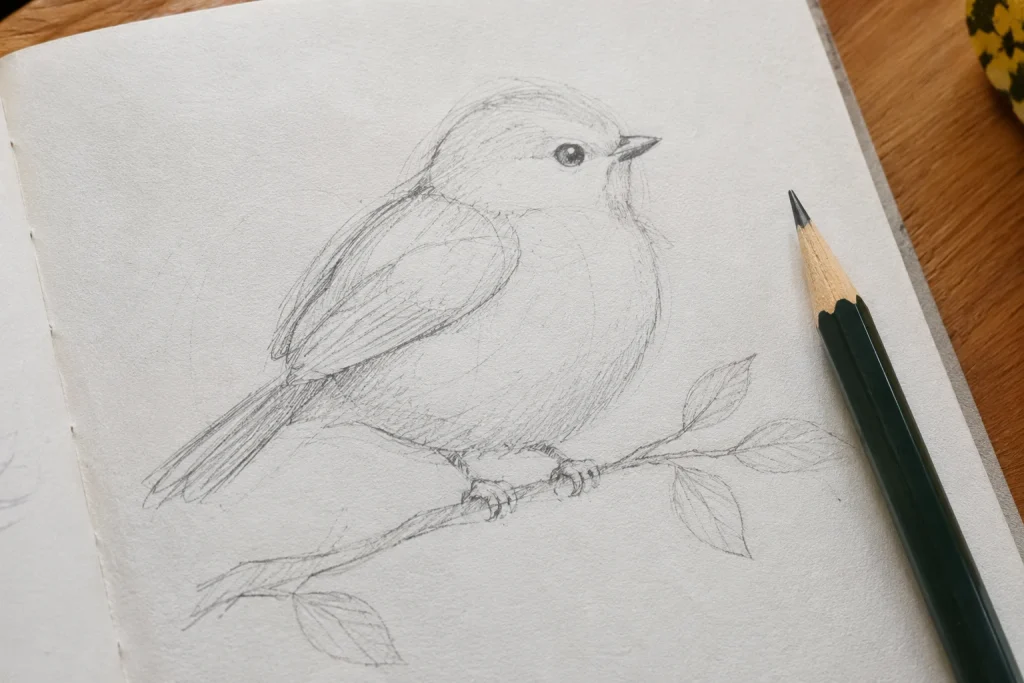
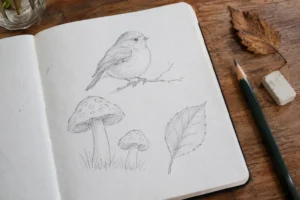
- Draw a tilted oval for the body.
- Add a smaller circle for the head, overlapping the front top of the oval.
- Add a triangle for the beak and a long, narrow shape for the tail.
- Draw the wing as a long teardrop along the side of the body.
- Add two thin lines for legs, with a few short strokes for feet gripping a branch.
- Place the eye about a third of the way back from the beak, and leave a tiny white highlight.
- Shade the underside of the body and the wing lightly to make it look rounded.
Small, round birds like sparrows, robins and chickadees are the easiest to start with. Draw from your own photos or from bird photos that allow reuse, and watch real birds from a distance without disturbing nests or feeding areas.
How to sketch a mushroom
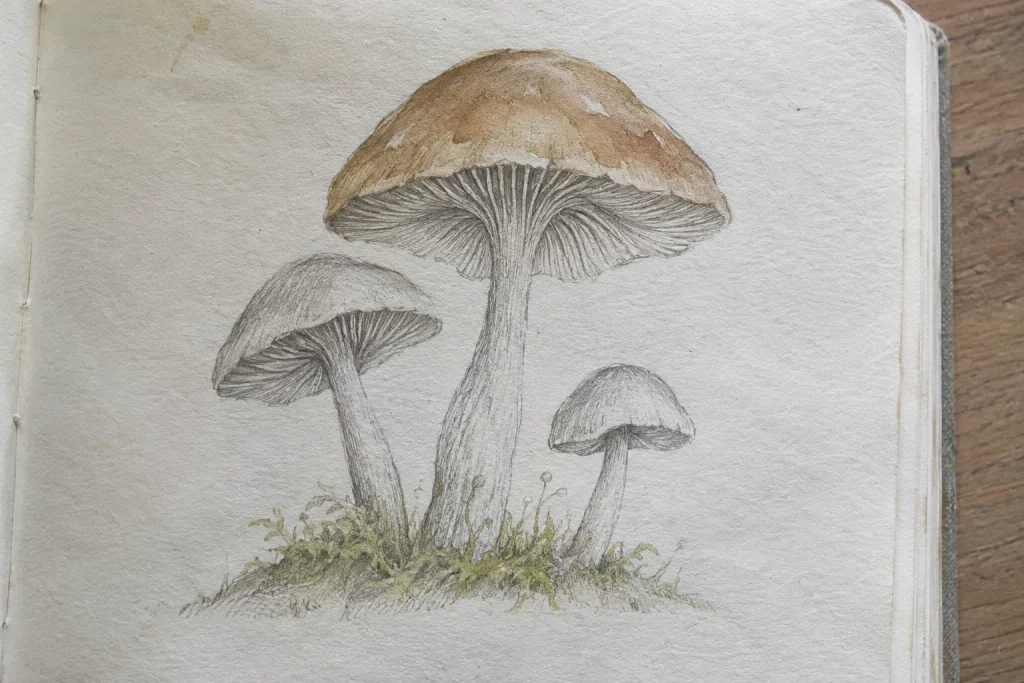
- Draw a dome or a flattened semicircle for the cap.
- Draw a slim cylinder for the stem below it, slightly off center if you like.
- Add a curved line under the cap to show its underside, and fine lines radiating out for the gills.
- Add spots, cracks or texture to the cap.
- Shade under the cap, where it’s darkest, and add a little grass or moss at the base.
Mushrooms look great in groups of two or three of different heights. If you’re drawing wild mushrooms outdoors, look but don’t touch or pick ones you can’t identify. Some are poisonous, so wash your hands if you do handle any.
How to sketch a leaf
- Draw a single curved line for the central vein, or midrib.
- Draw the outline on each side, using the midrib as your guide.
- Add the smaller veins branching out from the midrib at an angle.
- Add edge details such as teeth or lobes.
- Shade one side of the midrib slightly darker to suggest the leaf’s curve.
If birds feel intimidating, I’d start with leaves; they sit still. Collect leaves on a walk and draw them at home, where you can take your time. Fallen leaves are perfect, since you aren’t damaging any plants.
A 10-minute daily practice
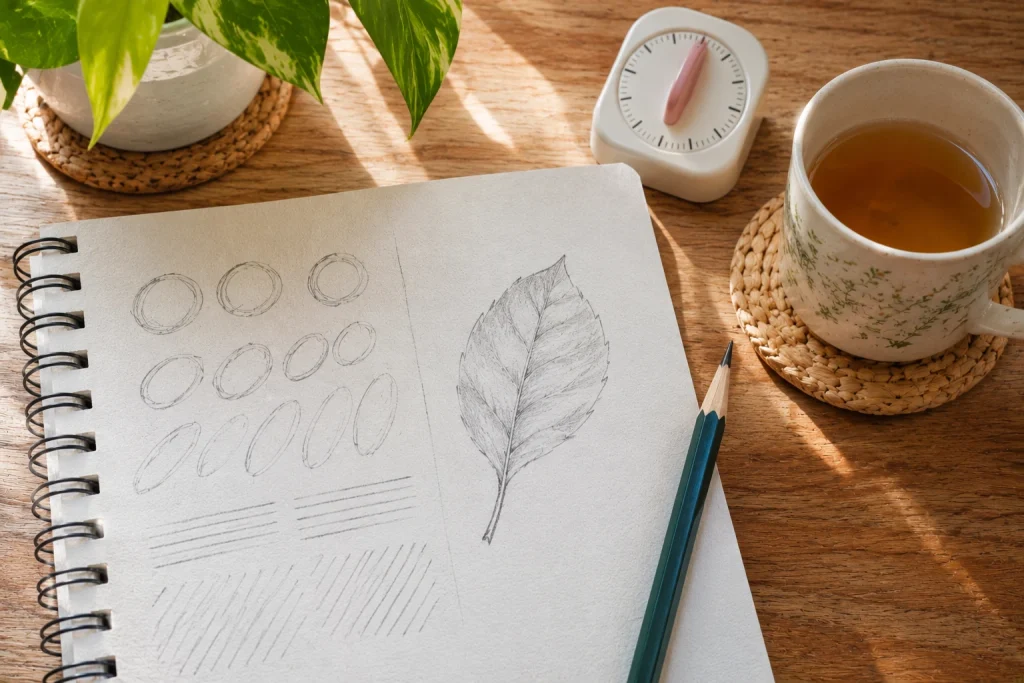
This is the habit I’d recommend above any supply or technique. Short, regular practice improves your drawing faster than occasional long sessions. A simple daily routine:
| Minutes | Exercise |
|---|---|
| 0–2 | Warm up: fill a small area with circles, ovals and straight lines |
| 2–7 | Draw one subject using basic shapes: a bird, mushroom or leaf |
| 7–9 | Add shading to show light and shadow |
| 9–10 | Write the date and one thing you’d change next time |
After a month, flip back to your first pages. The improvement is usually obvious, which is a great motivator.
Drawing outdoors
Sketching outside is calming, but nature moves. Birds rarely sit still, so do quick gesture sketches, just a few lines that capture the shape, and add detail later from memory or a photo. Bring a small folding stool or a waterproof mat, a clip to hold pages in the wind, and dress for the weather. Respect wildlife and plants: stay on paths, keep your distance from animals and leave things as you found them.
Keep a nature sketch journal
Many nature artists keep a sketch journal rather than separate drawings. Each page records the date, the place, the weather and what you saw, with a quick sketch or two. Over a year, it becomes a personal record of the seasons: the first spring buds, the birds at your feeder, the mushrooms after autumn rain. It also takes the pressure off, because the goal is noticing and recording, not making a perfect picture. Tape in a pressed leaf or a feather you found on the ground to make pages even more personal.
Adding color
Once you’re comfortable with pencil, add color with a light watercolor wash. Ink your pencil lines with a waterproof fine-liner first, erase the pencil, then paint loose washes of color over the top. Colored pencils are a less messy alternative that works well for leaves and feathers.
Common beginner mistakes
- Pressing too hard at the start, so lines can’t be erased.
- Drawing details first before getting the big shapes right.
- Drawing what you think a bird looks like, rather than what you see.
- Giving up after a few bad drawings. Everyone’s early sketches look wobbly.
My suggestion for your first week: draw one leaf a day for seven days. By the end, you’ll likely notice your shapes getting more confident.
Ready to add color? This watercolor guide for beginners shows the basics. Leaves and flowers you collect for drawing can also become these pressed flower bookmarks.