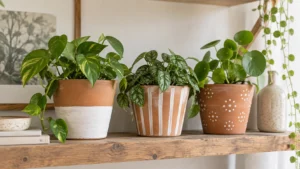
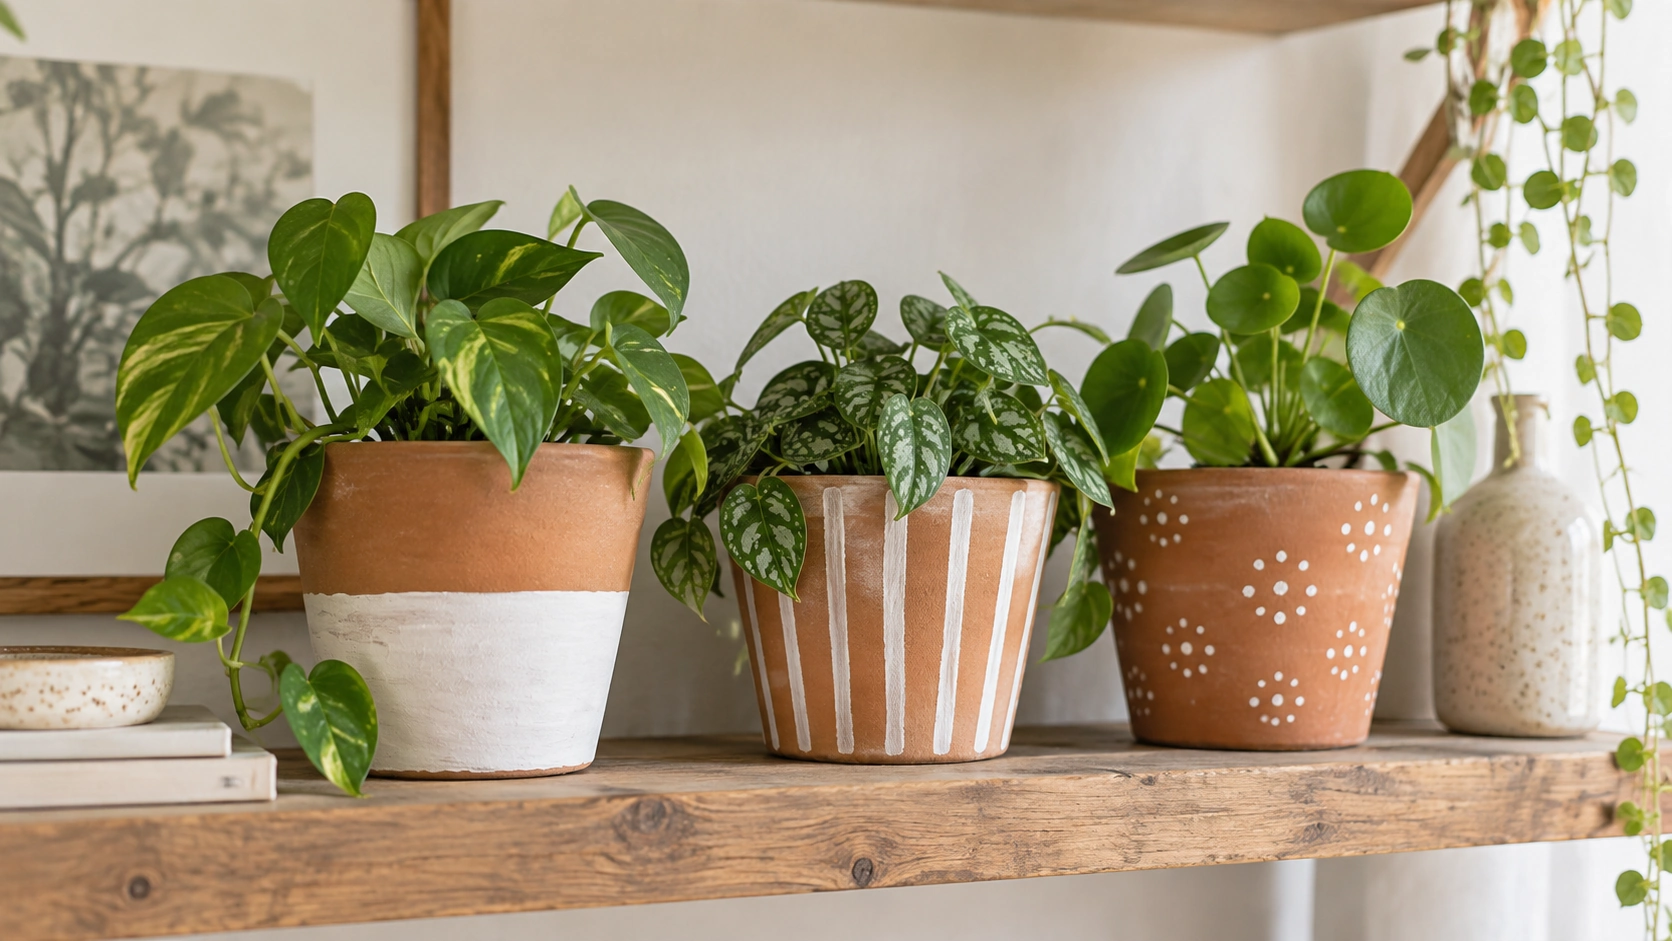
Painted terracotta pot ideas work best when the design is simple enough to repeat and the pot still suits the way you care for your plants. For this project, use the painted pot as an indoor decorative outer container. Keep the plant in a separate nursery pot with drainage and a suitable waterproof insert or saucer inside the outer pot.
Remove the nursery pot for watering and let it drain thoroughly before returning it. This keeps the painting project separate from the wet growing container and makes routine plant care easier.
This article contains affiliate links. As an Amazon Associate I earn from qualifying purchases.
Prepare the pot before choosing a pattern
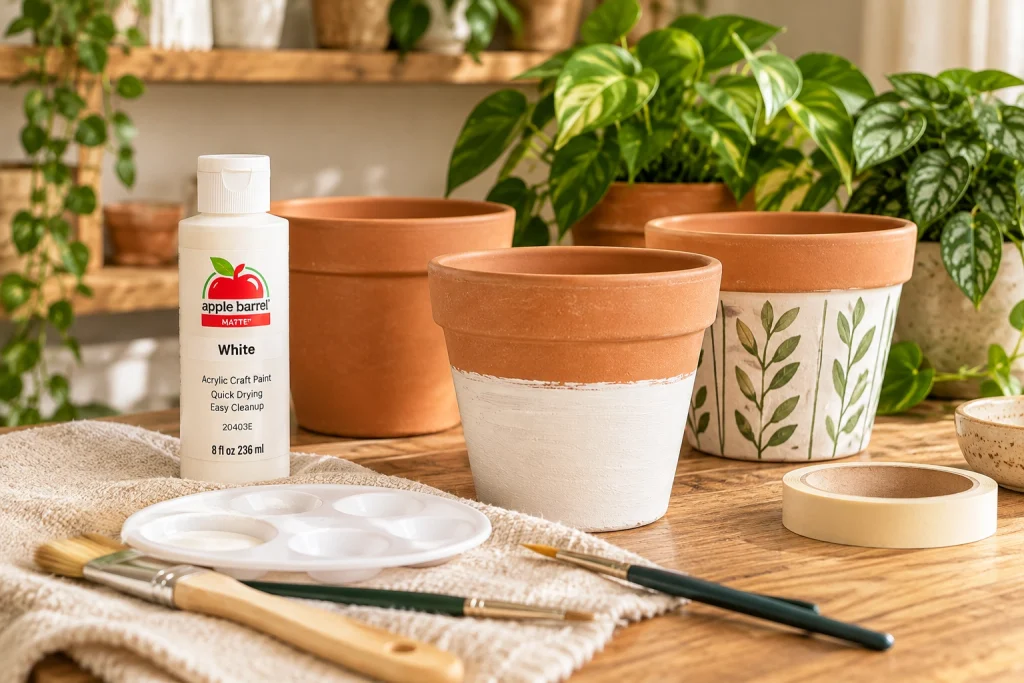
Apple Barrel white acrylic paint (paid link) is an option for the decorative exterior designs below. The linked bottle is the eight-ounce white version. Check the label for surface preparation and care guidance. This ordinary craft-paint project is intended for indoor display, not as a waterproof or outdoor finish.
Gather an unglazed terracotta pot, a flat craft brush, a smaller detail brush, clean water for brush care, a protective work covering, and optional painter’s tape suitable for your project. You can complete the three designs with white paint and the pot’s natural clay color.
Brush away loose dust, clean the pot appropriately, and let it dry completely. A pot that was recently washed or watered may hold moisture after the surface looks dry. Do not rush this part, because painting over a damp base can affect the finish.
Inspect the pot for cracks and sharp chips. A decorative finish will not repair a damaged container. Use a sound pot that is large enough for the nursery pot and its drainage arrangement without wedging everything tightly together.
Practice brush marks on cardboard before painting the curved surface. You will learn how much paint the brush holds and whether your planned stripe is realistic. Keep the first design loose enough that a tiny variation looks intentional.
1. Paint a soft white band around the lower half
A painted lower band leaves the upper section of terracotta visible and gives the pot a clear, simple shape. It is a useful choice when the plant already has busy foliage or sits beside patterned books and accessories.
Decide where the band should end. Use a few light pencil marks around the pot as guides, checking the height from the base rather than following an uneven rim. You can paint freehand for a softer line or test painter’s tape on a spare area for a sharper edge.
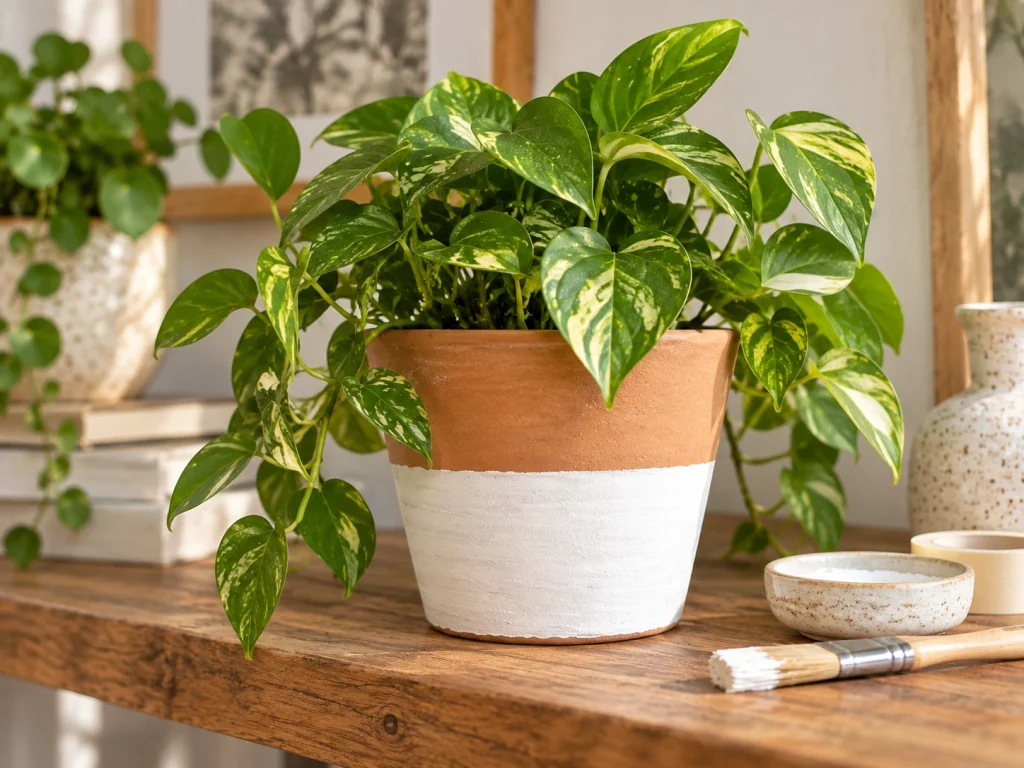
Apply a thin first coat to the exterior. Let it dry according to the paint directions before deciding whether another coat is needed. Heavy paint applied to cover everything at once is more likely to leave visible ridges and drips.
If you use tape, follow its removal instructions and do not leave it in place longer than necessary. Terracotta is textured, so expect a little variation even with careful masking. Touch up only the obvious distractions rather than chasing a perfectly printed line.
Leave the upper terracotta area unpainted and keep paint away from the interior used by the insert. Once the pot is dry, view it beside the plant. The pale base should support the greenery visually without competing with it.
2. Add irregular vertical stripes for a handmade look
Vertical white stripes create rhythm around the pot while keeping plenty of warm clay visible. Start with a brush width that suits the pot. A tiny pot can become busy with thick stripes, while very fine lines may disappear on a larger container.
Mark four reference points around the rim, then divide the spaces between them by eye. This helps you distribute the pattern without measuring every line. The stripes can vary slightly, but the spacing should feel reasonably balanced.
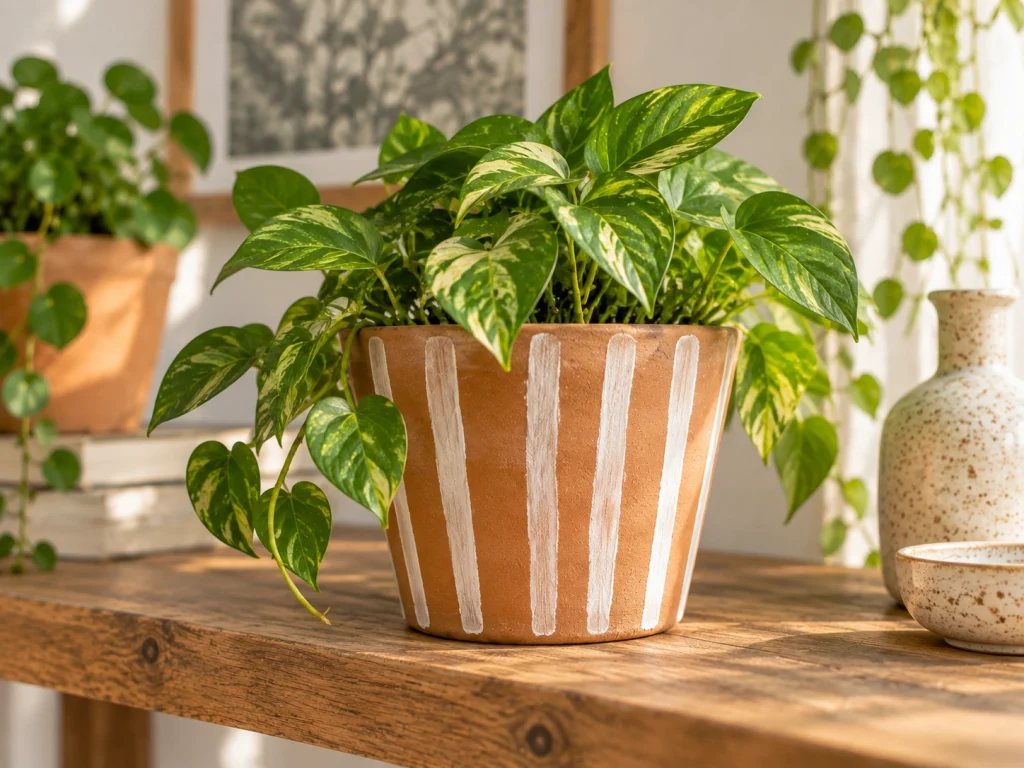
Begin at the top of the exterior and draw one stripe downward with light pressure. Rotate the pot instead of twisting your wrist into an awkward angle. Paint a small section, let yourself reposition, and continue around the surface.
Leave enough space between stripes to see the terracotta clearly. If the pattern becomes crowded, stop before adding another line. White paint is easy to add, but removing it cleanly from porous clay is much harder.
Let the first pass dry before refining any faint areas. Avoid widening every stripe to correct one imperfect edge, which can gradually turn a light pattern into a mostly white pot.
Pair this design with plain neighboring containers. A striped pot can act as the one patterned detail on a plant shelf, especially if the others repeat its white or terracotta tones.
3. Paint a small group of loose white dots
A scattered dot pattern is forgiving because it does not depend on straight lines. Keep the dots grouped on one side or spread them lightly around the pot, leaving generous empty areas between clusters.
Use the end of a suitable brush handle or a small detail brush, testing the mark on cardboard first. Different tools produce different sizes. Choose one size for most dots and a smaller size for an occasional accent if you want variation.
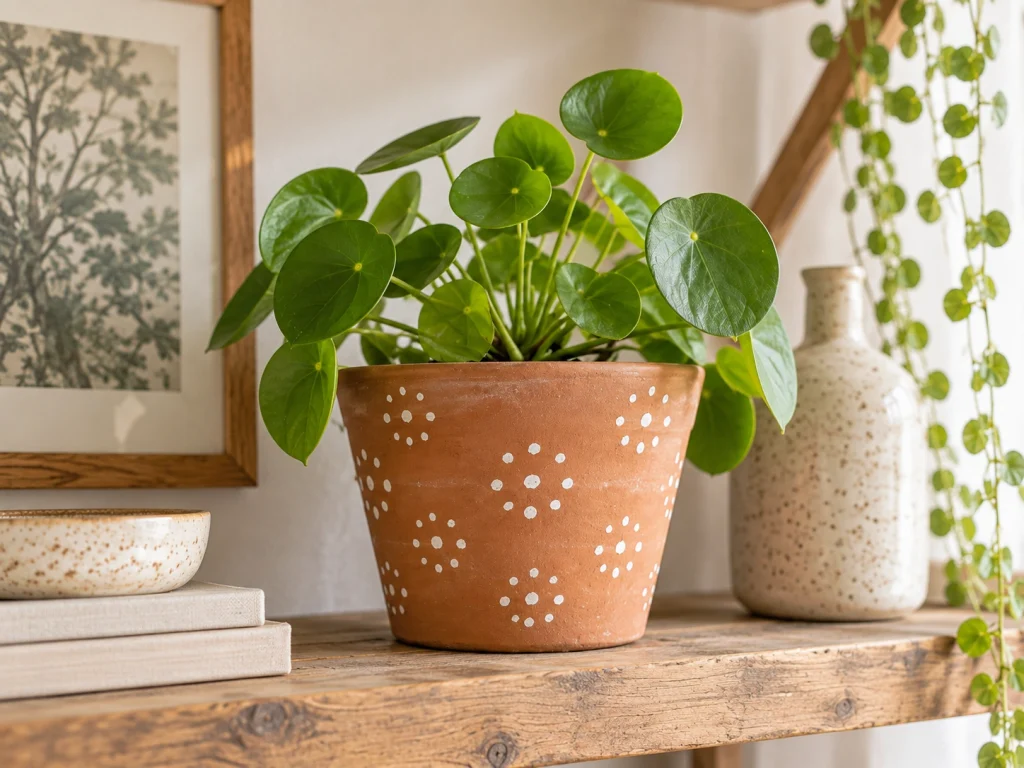
Make the first few dots far apart. Turn the pot and check the whole arrangement before filling in gaps. It is easy to keep adding dots simply because the paint is still out, but the design often looks better with fewer marks.
For a quieter version, concentrate the dots near the base and let them thin out toward the top. For a playful version, create three small clusters separated by plain clay. Neither needs to form a recognizable picture.
Keep the pattern on the exterior, and avoid using this decorative pot as a food container. A craft paint described as suitable for crafts is not automatically a food-contact coating.
Let the finish dry, then assemble the plant display
Drying time depends on the paint, coat thickness, room conditions, and any compatible sealer you choose. Follow the labels rather than assuming that a surface dry to the touch is ready for ordinary handling. A clear finish is optional and must be suitable for both the paint and the intended indoor use.
Test the nursery pot and waterproof insert before placing the finished container on furniture. Water should never collect unnoticed against the painted terracotta or reach the shelf beneath it. Keep drainage holes functional in the growing pot and empty any collected water appropriately for the plant.
Choose a location based on the plant’s needs. A beautiful arrangement on a dark shelf will not suit a plant that requires brighter light. The painted pot should move with the plant’s practical requirements, not dictate them.
These painted terracotta pot ideas can share a shelf without using the same pattern. If you display several pots together, vary the pattern while keeping the palette connected. One banded pot, one striped pot, and one plain clay pot can look cohesive without making every container identical.
Keep a little spare paint for small future touch-ups, following its storage instructions. Clean the decorative exterior gently and avoid soaking it. When the plant needs water, lift out the nursery pot, do the watering elsewhere, and return it only after excess water has drained.