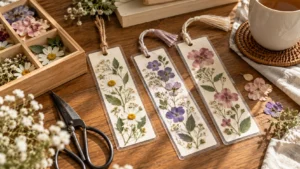
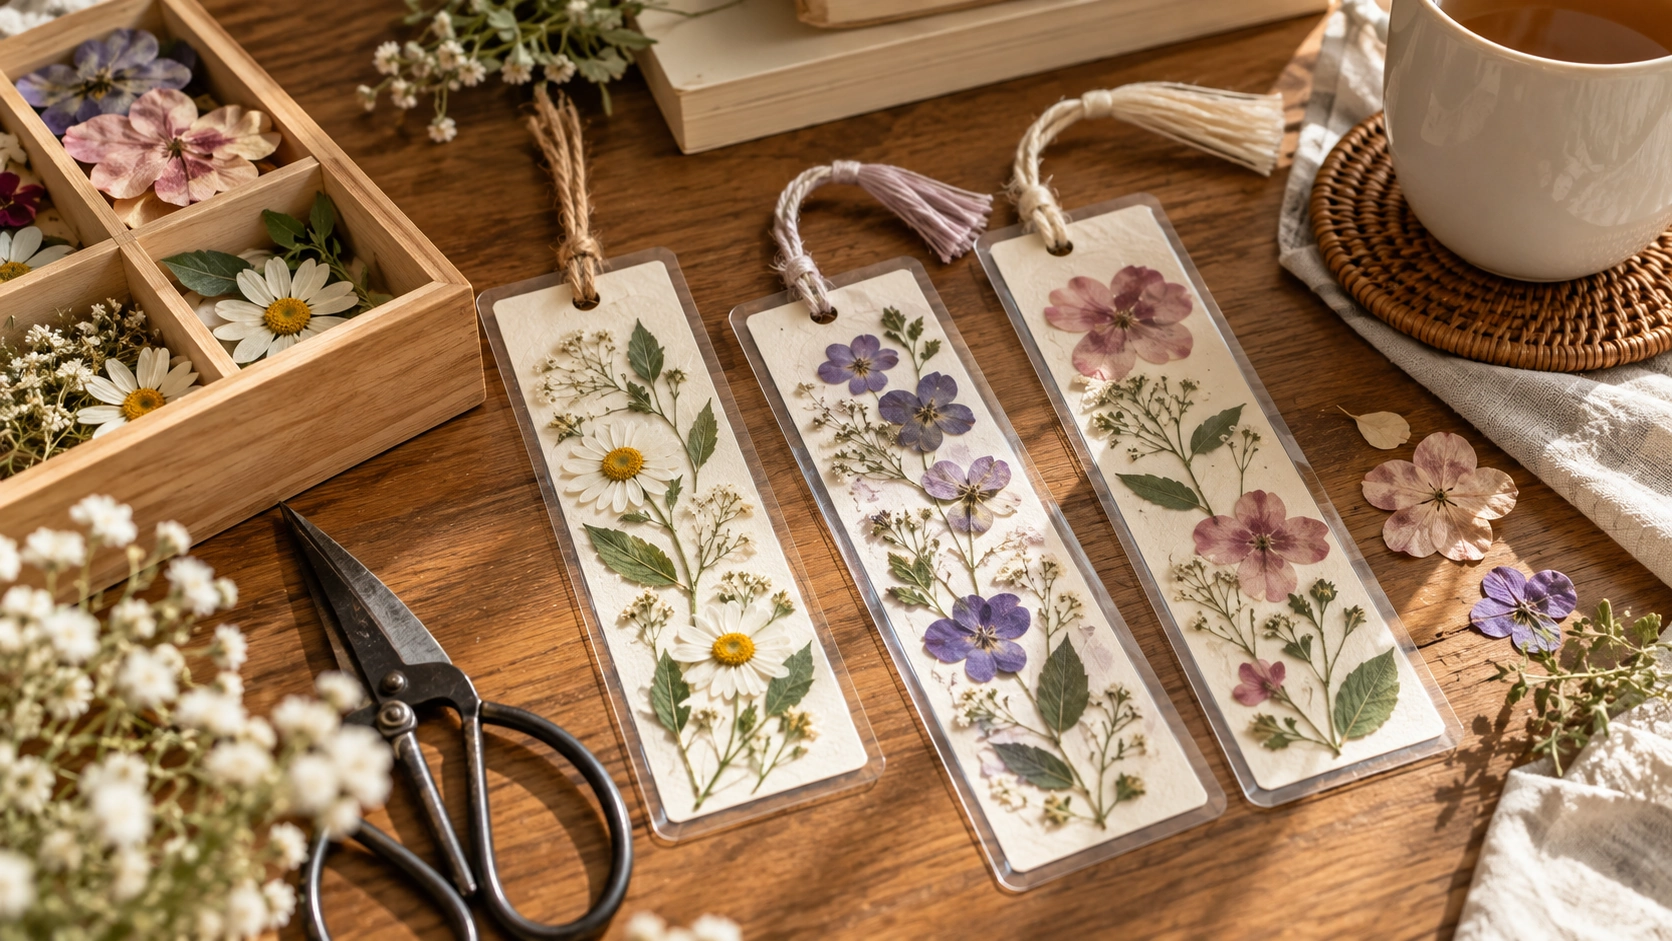
You can make pressed flower bookmarks without a laminator by arranging fully dried flowers on thin cardstock and sealing both sides with clear self-adhesive sheets. The important details are keeping the flowers flat, leaving a sealed border, and working slowly enough to avoid trapping wrinkles.
Start with one practice bookmark. Once you understand how the adhesive behaves, it becomes much easier to make a coordinated set for your reading journal, a book club, or a small handmade gift.
This article contains affiliate links. As an Amazon Associate I earn from qualifying purchases.
Gather a small set of supplies
Avery clear self-adhesive laminating sheets (paid link) are one option for this project. The linked 73601 pack contains 9-by-12-inch sheets. These are adhesive sheets rather than thermal pouches, so a laminating machine is not needed. Follow the package directions and test a scrap arrangement before sealing flowers you care about.
You will also need thin cardstock, completely dried pressed flowers, scissors, a ruler, a pencil, and tweezers if you have them. A clean plastic card can help smooth the film. A small amount of suitable paper craft adhesive is optional for keeping flowers in position.
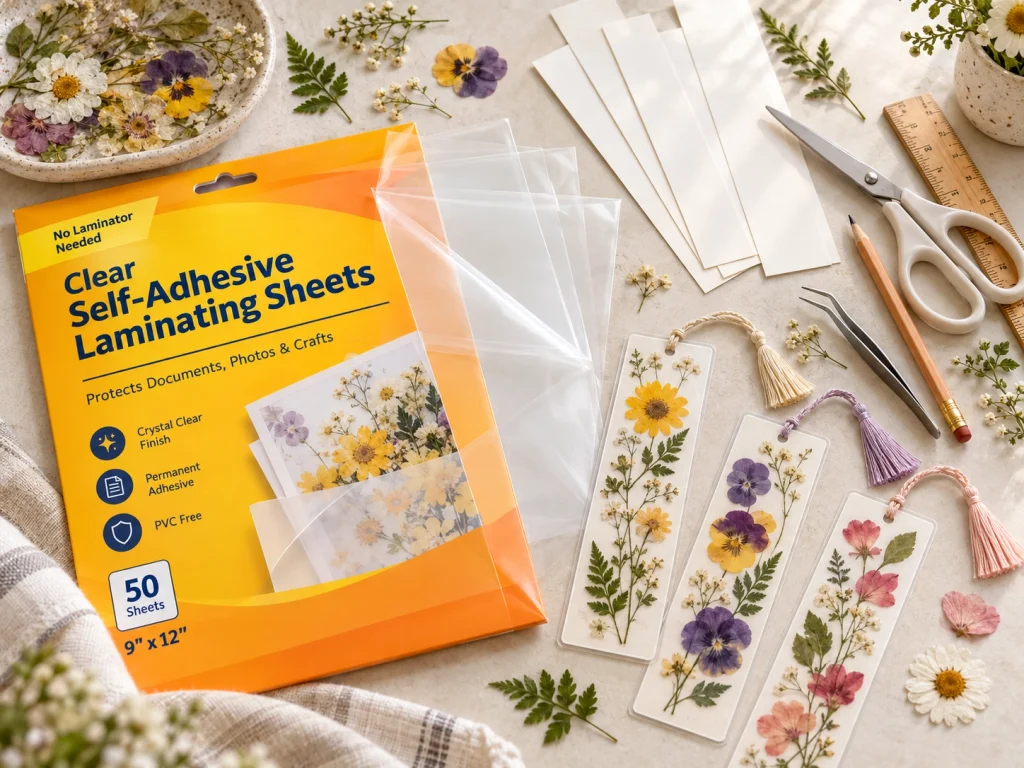
Choose thin petals and delicate leaves. Thick flower centers and bulky stems can stop the clear layers from meeting around the arrangement. If a flower feels substantial when you slide it between two pieces of paper, save it for framed art instead.
For a first attempt, use commercially pressed flowers or flowers you have already dried thoroughly. Fresh petals can retain moisture even when they look flat. This project begins after pressing and drying, not immediately after picking a flower.
Work on a clean, dry table with enough space to set the adhesive sheets aside. Keep loose glitter, lint, and food away from the surface because the exposed adhesive will collect them.
1. Cut a bookmark that fits your books
A cardstock strip about two inches wide and six inches long is a useful starting size. Adjust those measurements for the books you read. A small paperback may suit a shorter bookmark, while a large journal gives you more room.
Cut the cardstock neatly before arranging the flowers. It is easier to correct the shape now than after it is enclosed in clear film. Lightly round the corners if you prefer a softer outline.
Plan for a clear border beyond the cardstock. The film needs to meet film around the edges rather than stopping exactly at the paper. Follow the laminating-sheet instructions for the necessary border and trimming method.
Use plain paper behind the flowers for your first design. A busy print can hide fine stems and delicate petals. Warm white, pale gray, and muted pastel cardstock are all easy backgrounds to try with flowers you already have.
2. Arrange the flowers before exposing the adhesive
Place the cardstock on the table and create the whole design while everything is still movable. Begin with one main stem or flower, then add one or two smaller pieces. Leave some empty background so the arrangement remains readable at bookmark size.
Keep flower edges within the cardstock area. A petal extending into the sealing border can create a channel where the layers fail to meet. Trim an oversized stem carefully rather than folding it over itself.
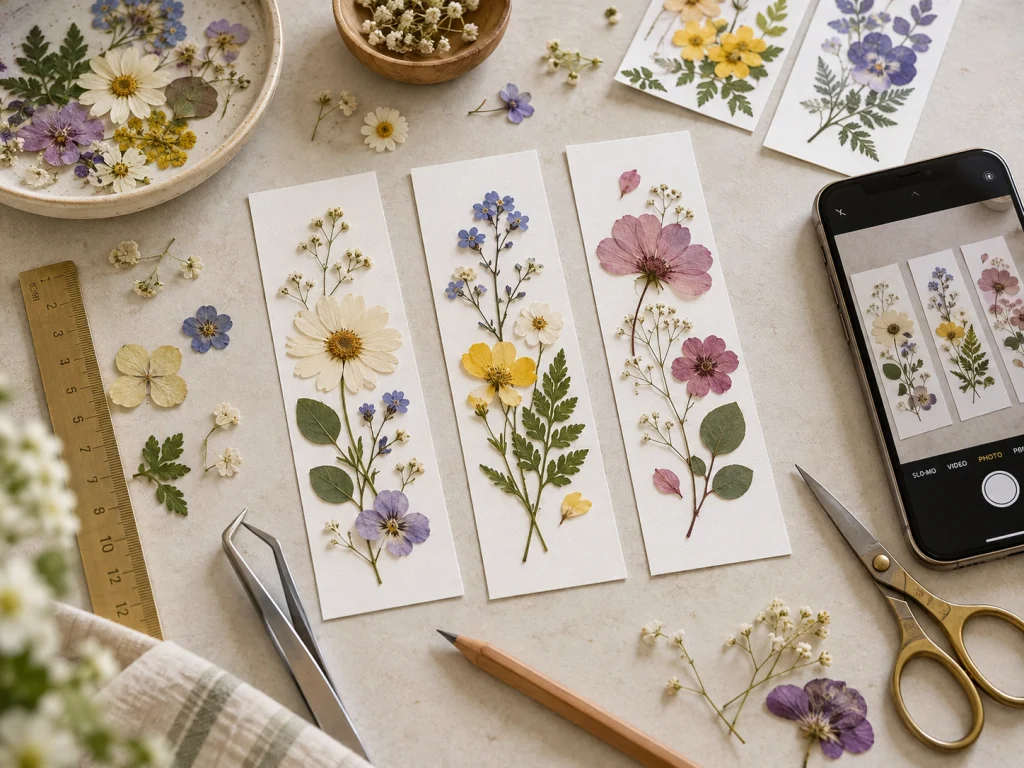
Try an off-center arrangement if a perfectly straight row feels stiff. For example, run a small stem along one side and leave the opposite edge mostly clear. Another option is a cluster at the bottom with a single leaf higher up.
Take a quick phone photo when you like the composition. It gives you a reference if something shifts during the next step. Use tweezers gently when moving delicate petals, and avoid pressing on fragile centers with your fingernails.
3. Secure the paper and flowers without adding bulk
If the flowers slide easily, use a very small amount of paper craft adhesive to hold them to the cardstock. Apply it where it will be hidden, and let it dry fully according to the product directions before laminating.
Too much glue can leave raised spots or visible marks under clear film. Test on an extra petal first if you are unsure how your adhesive affects its color. Some delicate flowers darken when wet adhesive touches them.
You can also work without glue if the arrangement is simple enough to transfer steadily. Move slowly and keep the cardstock level. The goal is a thin, flat design, not a thick botanical collage.
Check the back of the cardstock for pencil marks or stray adhesive. The finished bookmark has two visible sides, even if only one contains flowers. Erase unwanted marks before enclosing the paper.
4. Apply the clear layers a little at a time
Follow Avery’s instructions for preparing and peeling the sheets. Keep your fingers off the adhesive surface as much as possible. Place the bookmark on the first clear layer with enough room around every edge for the sealing border.
Bring the second layer down gradually rather than dropping the whole piece at once. Smooth from the attached area toward the unsealed edge, using light pressure with a clean card over a protective scrap of backing paper if appropriate.
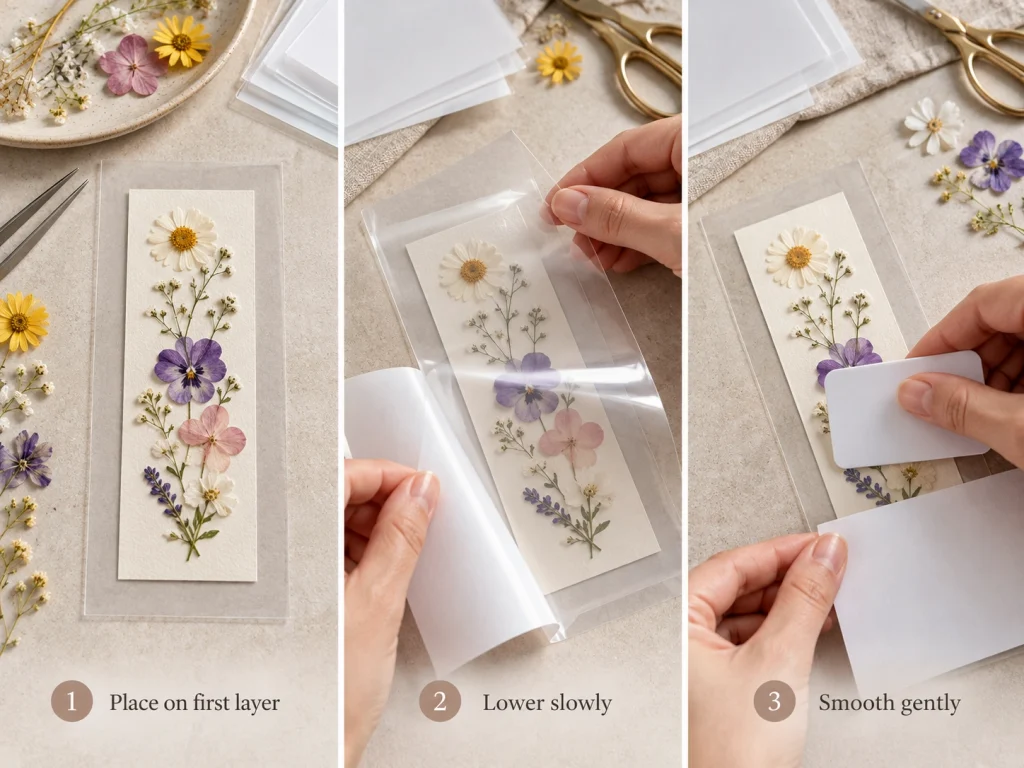
Avoid scraping hard over the flowers. The film needs to settle around the thin arrangement without crushing it or dragging it out of position. Small pauses make it easier to notice a fold before the adhesive grips completely.
Do not repeatedly lift and reposition a layer that has already adhered. Permanent adhesive can pull apart the paper or flowers. If a practice piece goes wrong, use it to identify what happened and start fresh with inexpensive materials.
5. Trim the border and check the finished bookmark
Press the clear edges together firmly, following the sheet instructions. Trim only after the layers are properly joined, preserving the recommended sealed margin around the cardstock.
Look closely at each side. If a petal reaches the edge or the film has lifted around a thick stem, do not cut closer to disguise it. A slightly wider bookmark is preferable to an open seam that catches on pages.
Round sharp clear corners carefully. Slide the finished piece through an unimportant notebook first to check that it is smooth and flat. Avoid adding beads, thick tassels, or bulky knots where they would sit between book pages.
For an optional ribbon, leave a larger clear tab at the top when designing the bookmark. Punch only where there is enough sealed film around the hole. Keep the ribbon light and short enough that it will not snag in a bag.
Fix the most common problems before making a batch
Bubbles near a flower usually suggest too much thickness or air trapped while applying the film. Try fewer petals, a flatter stem, and slower smoothing on the next piece. A wrinkled background often means the cardstock moved as the adhesive came down.
If your design looks crowded, remove one element instead of making the bookmark larger. Thin pressed flower bookmarks usually look more deliberate when a few recognizable shapes have room around them.
Keep your pressed flower bookmarks flat while you check the finished edges. Let the finished bookmark lie flat and check it again before gifting it. Keep it away from moisture and prolonged direct sun, and expect natural flower colors to change over time. Make the next one with the same background and a different arrangement so your set feels connected without repeating the exact design.